New Toy: Installing a Parrot Asteriod Audio Deck in an Alfa 156
At this point, I’ve got Radio, Music (from a 2GB SD card, which is all I had lying around), and bluetooth handsfree working (half tested with maxis voicemail, as there was nobody I could call at 2:00AM).
The software is a bit buggy, I did manage to hang the UI at one point, which left the radio playing in the background uncontrollable. There’s a reset button under the front fascia for when that happens. Hopefully it doesn’t wake up by itself and start playing music (and thus draining the battery) when I’m away from the car.
Stuff left to do:
– add a usb hub and maybe multiple 32GB thumbdrives so i can put my full music collection.
– alternatively, a USB hard disk. This would be easier to sync with my PC, but I’ll need to provide 5V power to it.
– Try the voice activated commands.
– Check to see if there’s a firmware update.
Some hacking required:
– figure out a way to get internet on this. I can easily add a 3g USB modem to it, but that involves paying for data. Ideally, make it share the data connection off my Galaxy Note.
– Root it
– Write a hello world android app and load it.
So far I still think the Empeg UI was way ahead of this, but as with all things in life, it’s time to move on.
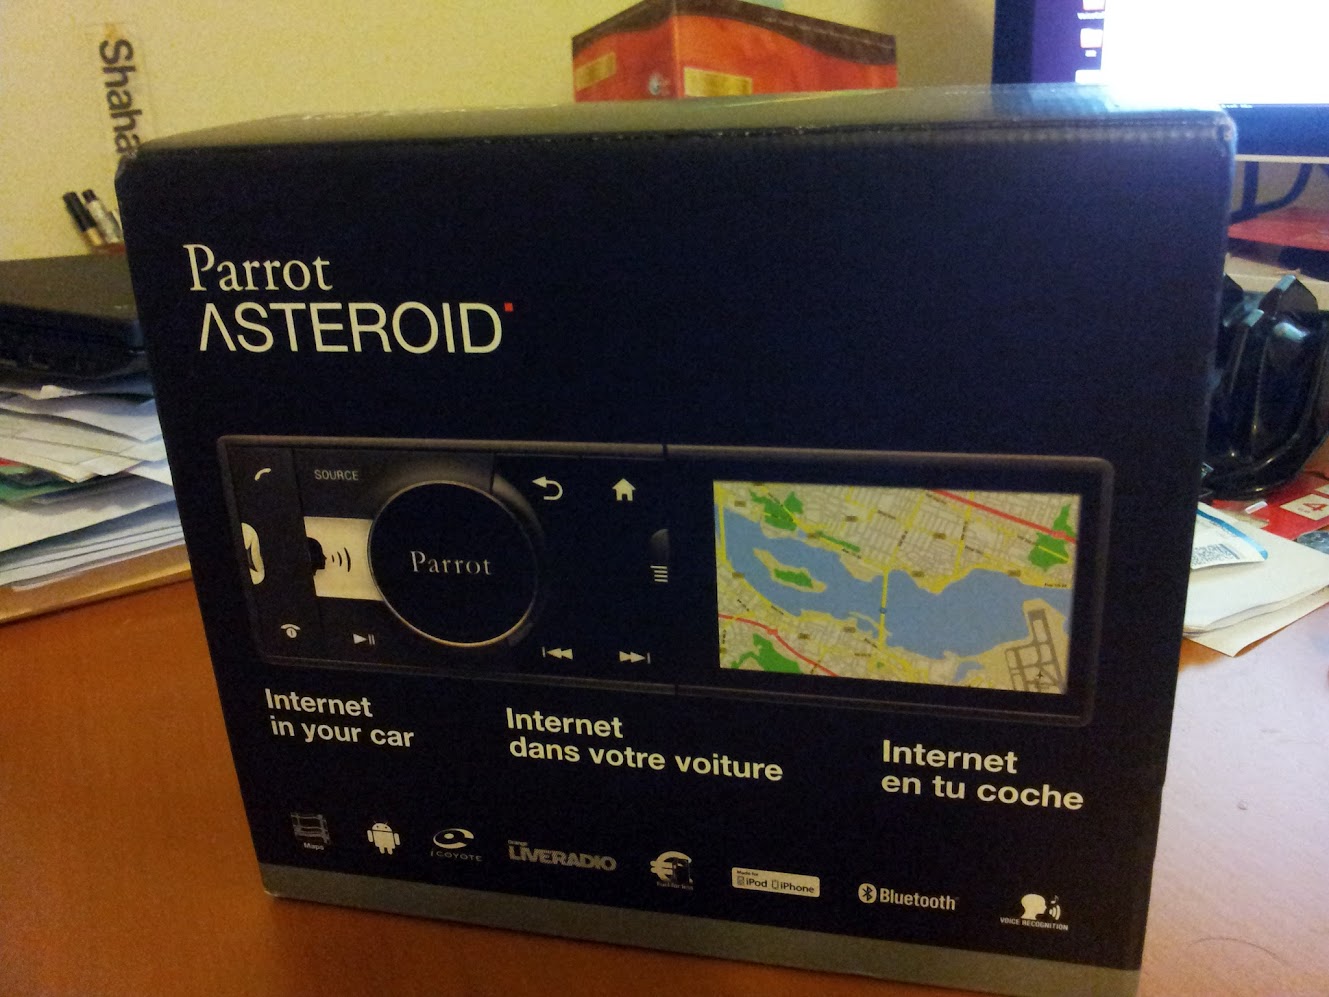
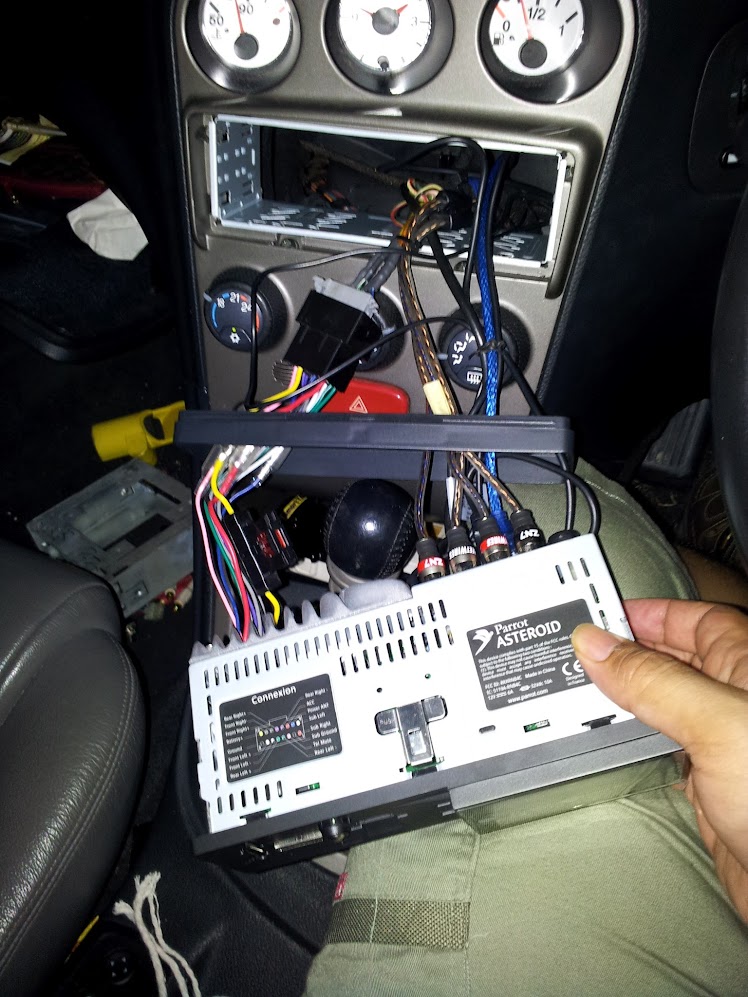
Front of the box


Outside dry run first. Plugging in the RCA cables. I put a tape around the front pair so I know which was which.

This cable connects the Parrot Asteroid to a standard ISO socket on the car.

ISO, RCAs and antenna connected …
Power on! It announced itself by playing a short tune out of my speakers.

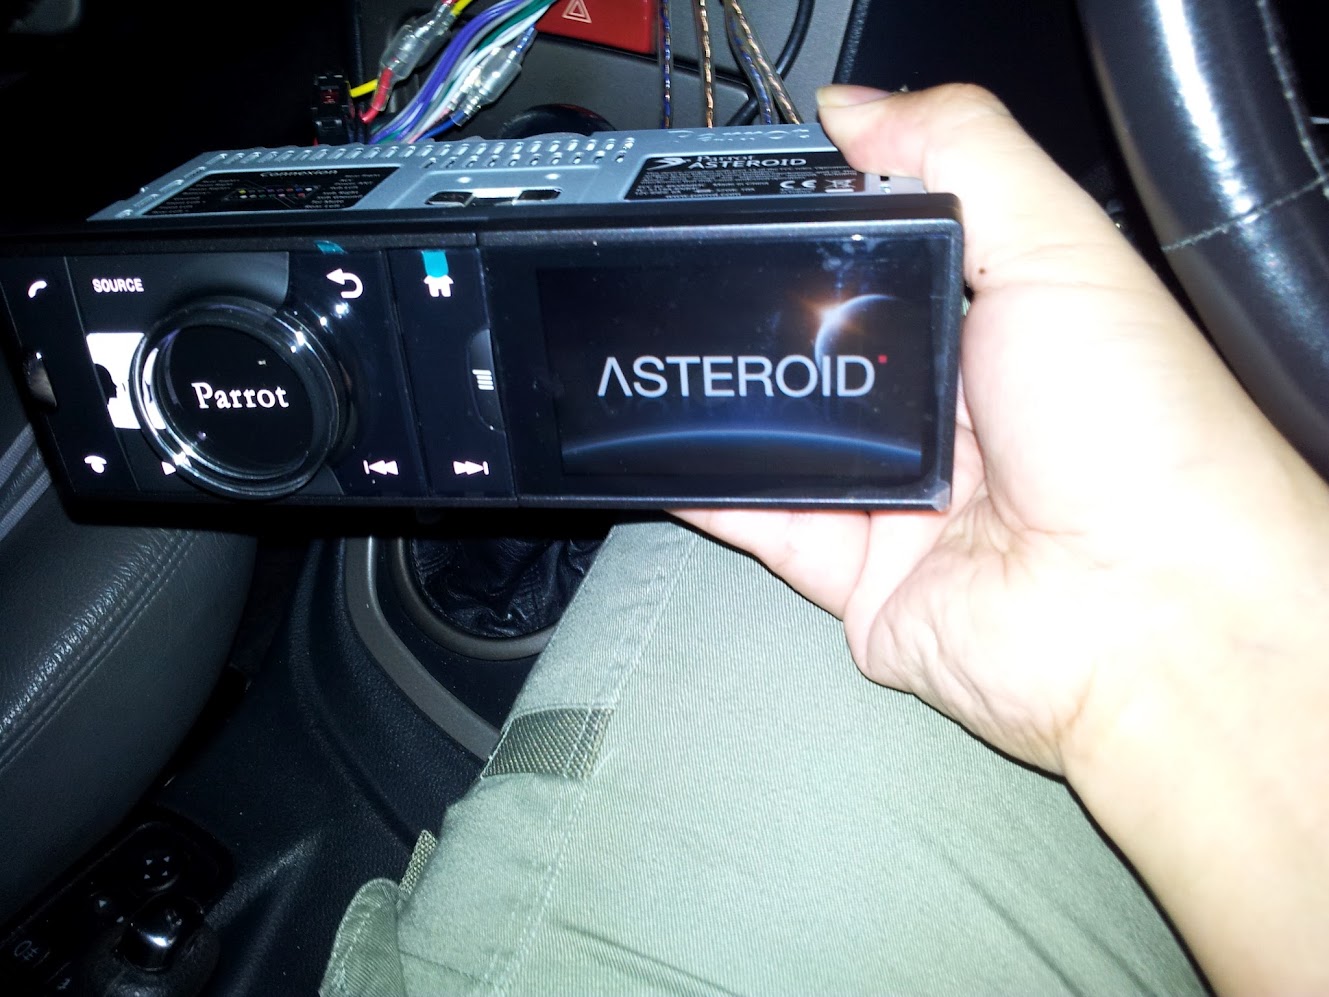
Welcome!
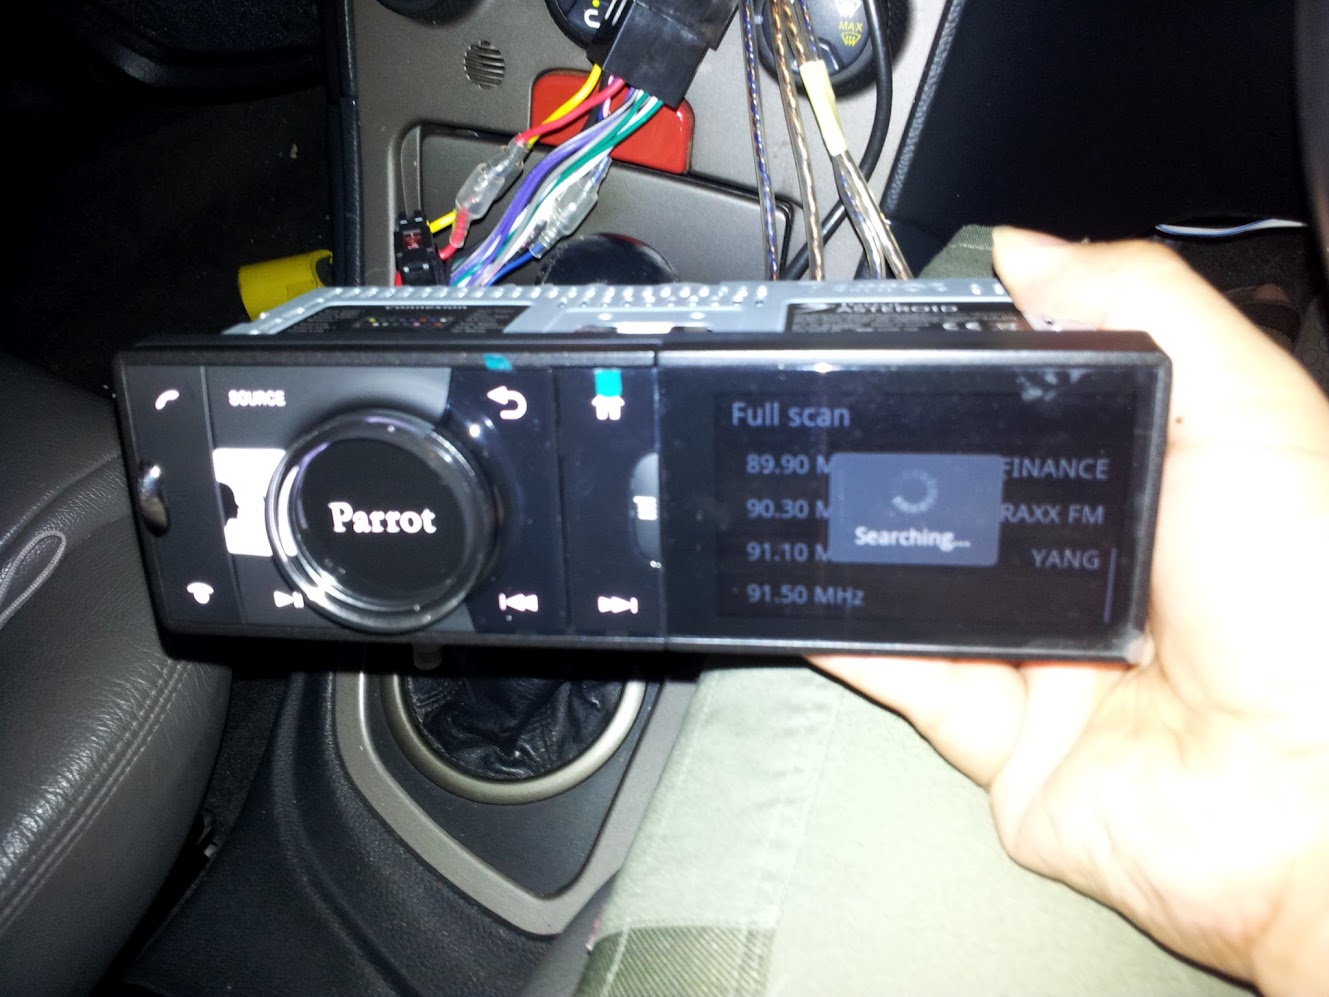
Didn’t have any sources connected, so I tried the radio first. It did a scan of the airwaves and recorded the names of those stations that supported RDS.
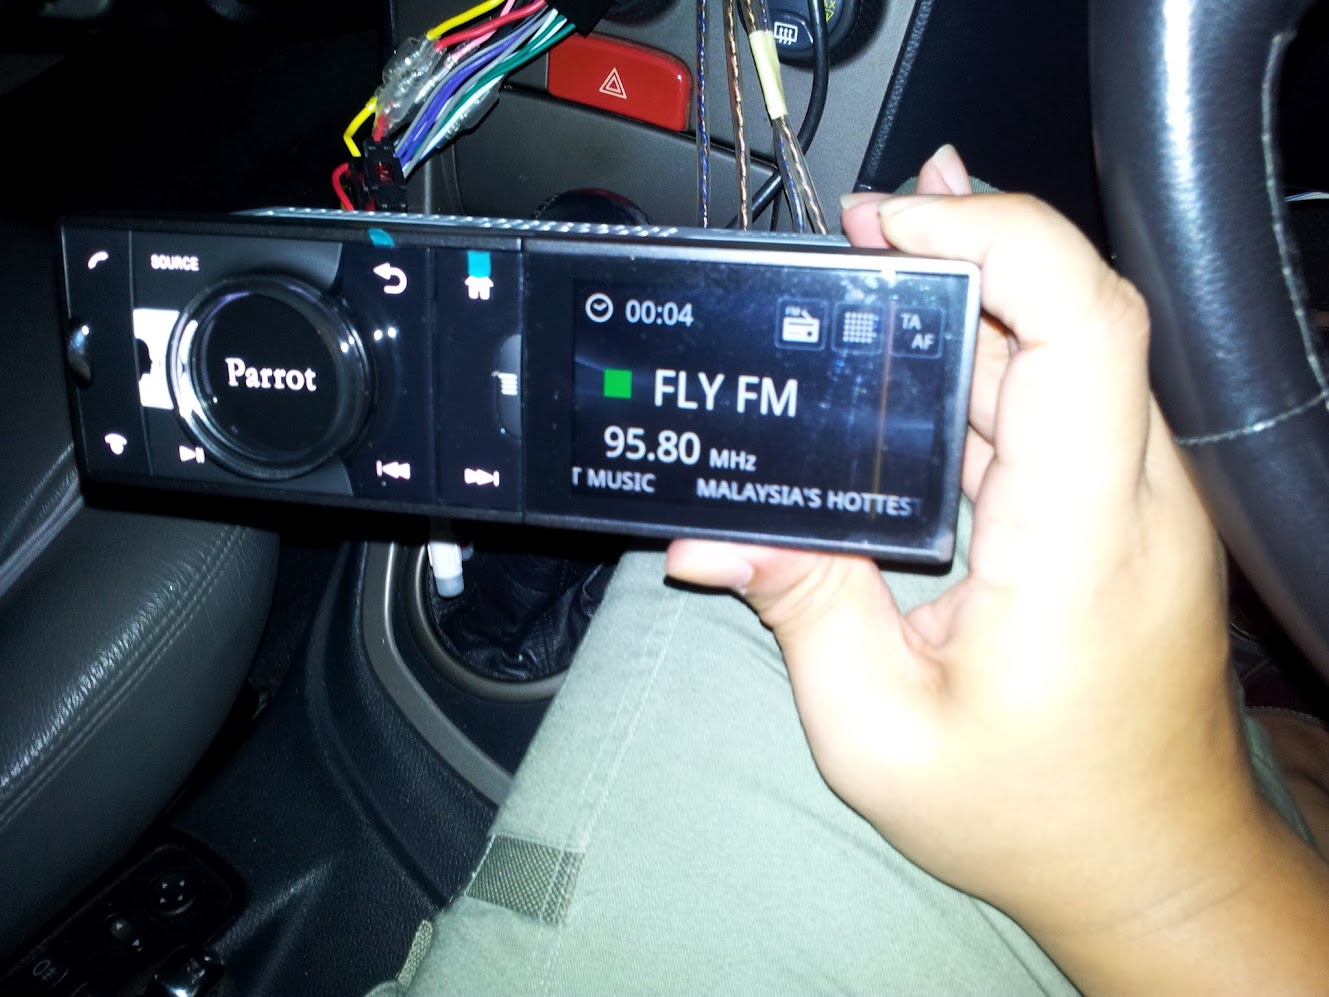
Radio playing! I haven’t had a radio in my car since 2004.

In-place testing. I didn’t bend the tabs on the chasis yet, this was just to make sure everything worked ok first.

It also pairs with my Galaxy Note. Parrot is famous for their in car bluetooth hands-free.

Stereo microphone, fixed above the mirror using double side tape. Cable tucked between the ceiling and windscreen.
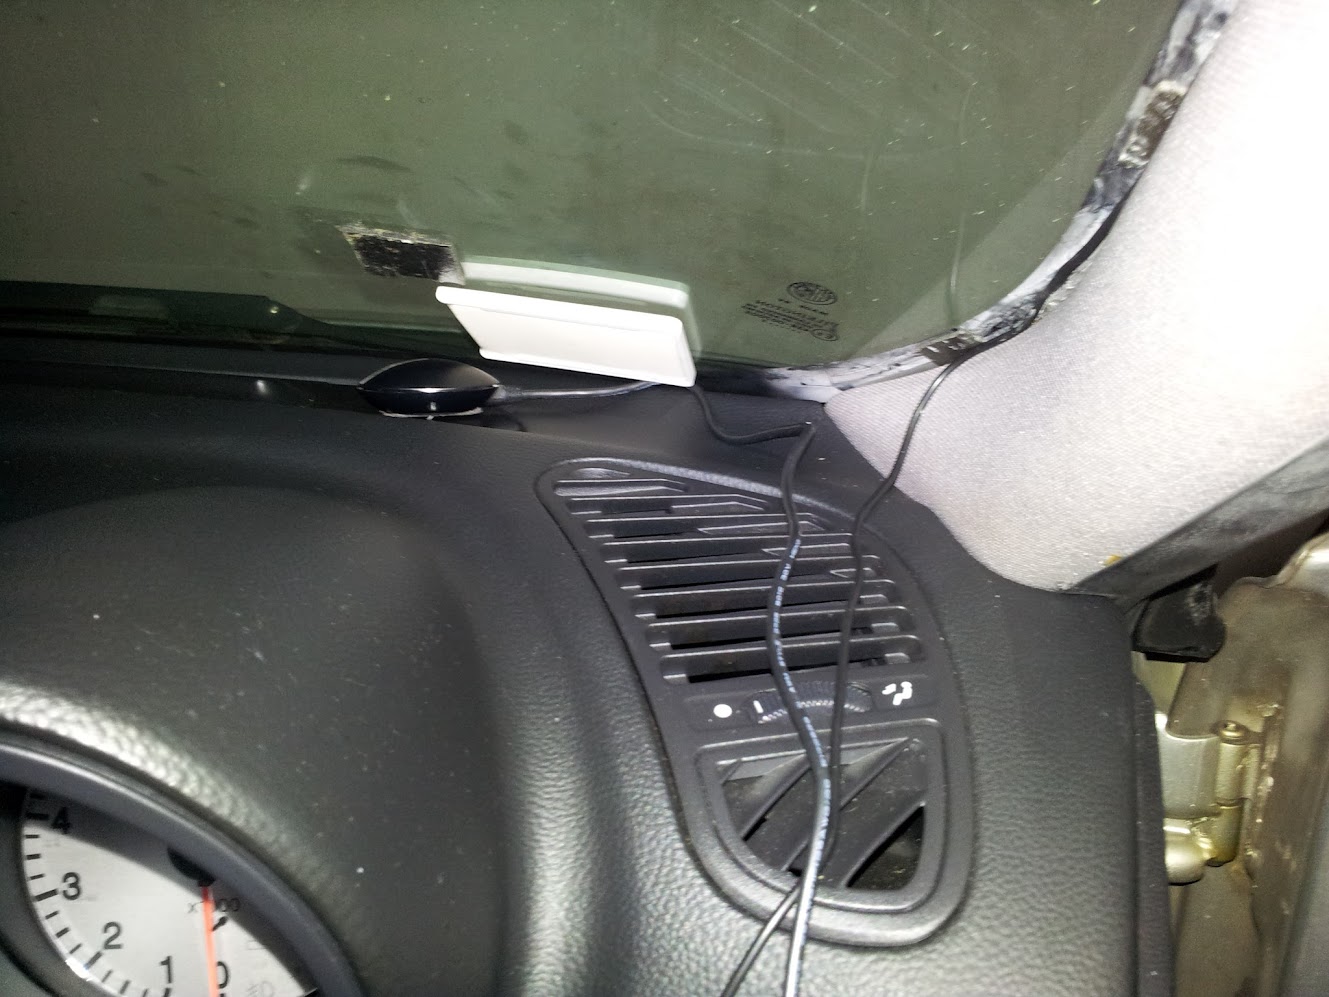
Stereo microphone cable wrapped all around the windscreen, and also the GPS dongle.
The ugly white marks on the windscreen edge is due to the flash, it’s pretty neat look in real life.
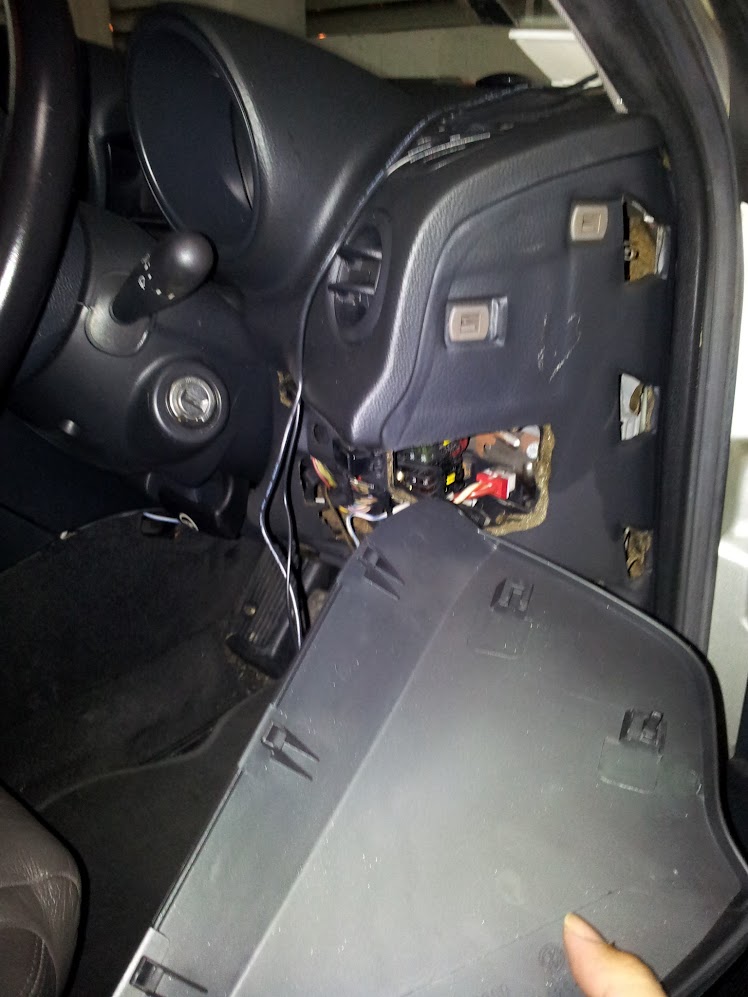
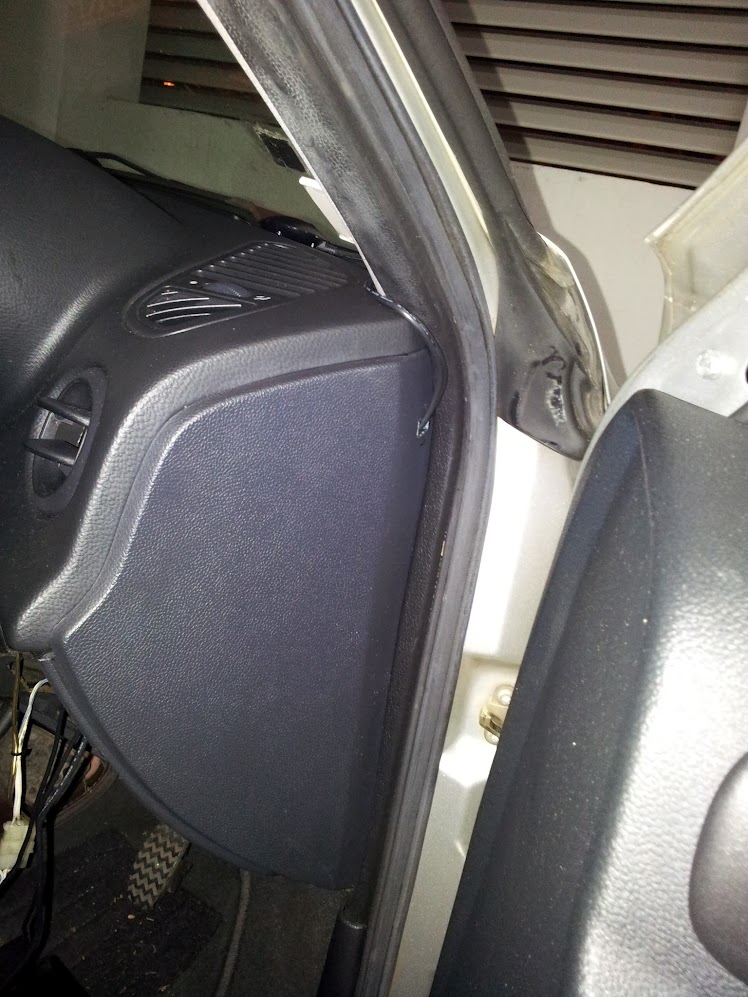
Needed to get the cables under the dashboard and into the back of the unit. Decided to go in via the side panel, as it is removable, which means it’s also replaceable if I ever need to undo this.
Took the side of the dashboard back indoors …

Drilled a hole using a power drill (very quietly as it was 12:30AM). Expanded it with the grinder from my RTX, and then used a file to smoothen it till it was rectangular (USB sized).
Wires can now go into the dash. Again, this isn’t so noticeable in real life, the flash makes it more obvious.

Next I needed to get the cables from the side of the dash past the steering column and to the back of the deck.

In addition to the mic and GPS, I also pulled two USB extension cables, so that I can plug other stuff in in the future without having to reach the back of the deck.
I tried using this fascia edge cover I bought off ebay, but it’s just slightly too small to fit the Parrot Asteroid’s front. So proceeded without it.
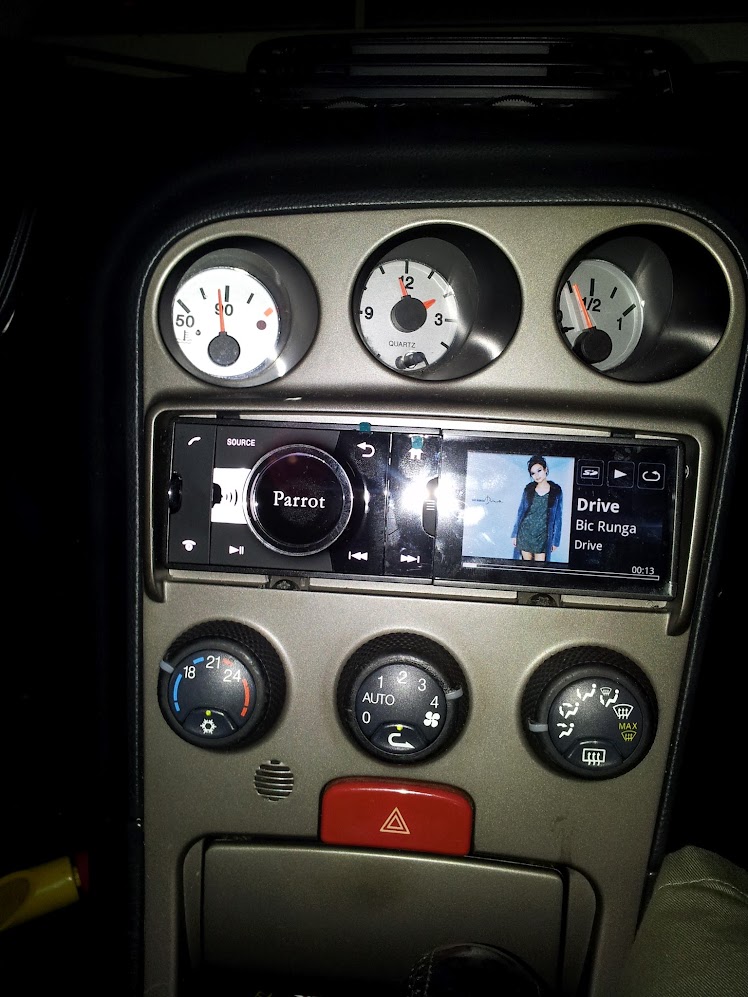
Fixed in place and playing music off a SD card. Album covers are displayed, together with track title, artist and album.
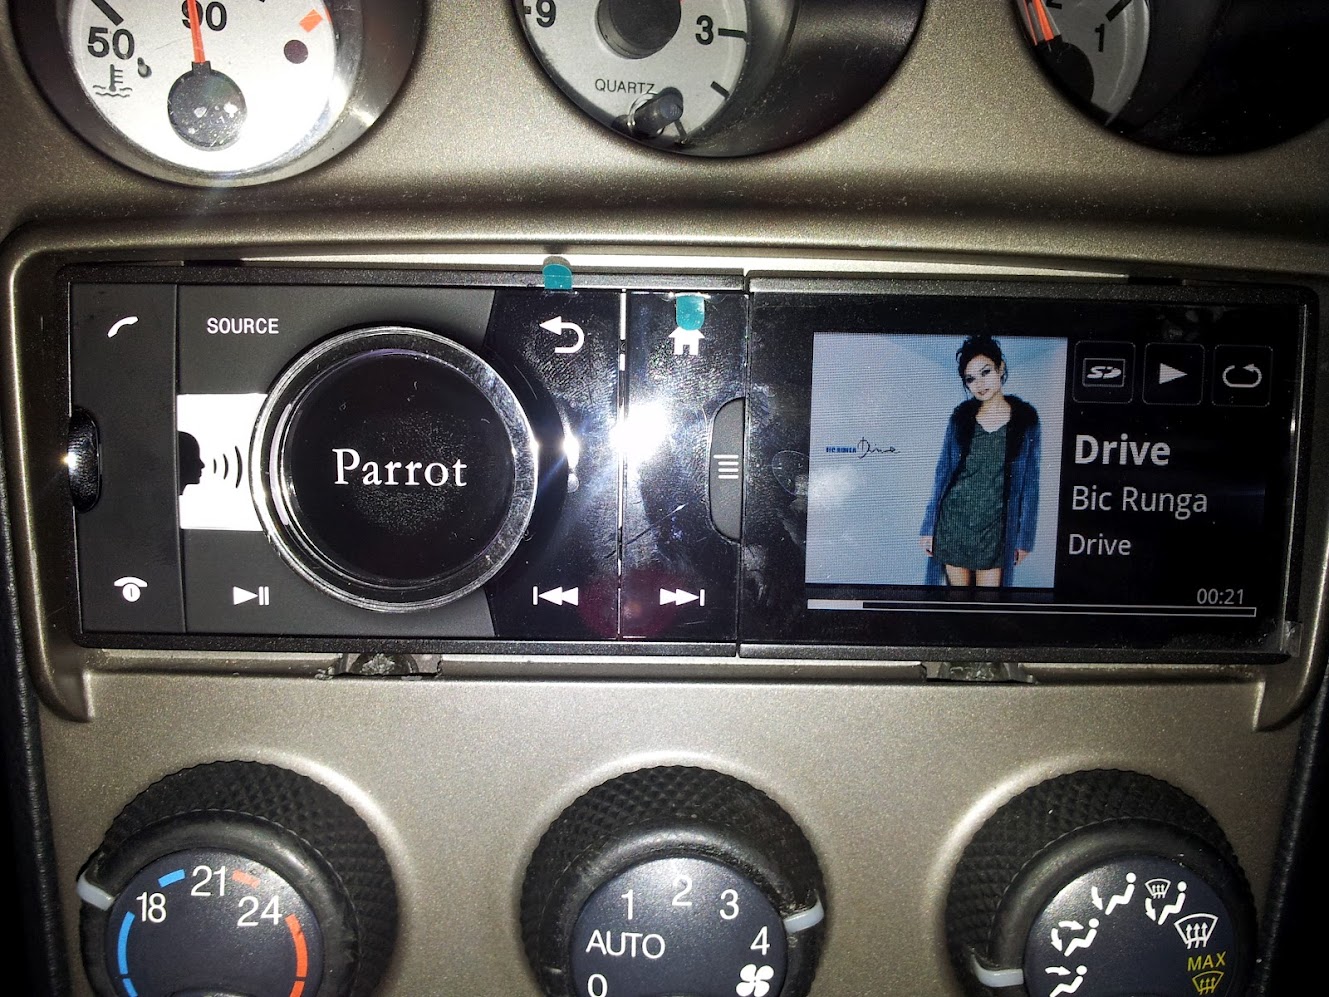
That gap is what that fascia edge cover was suppose to conceal. Oh well.
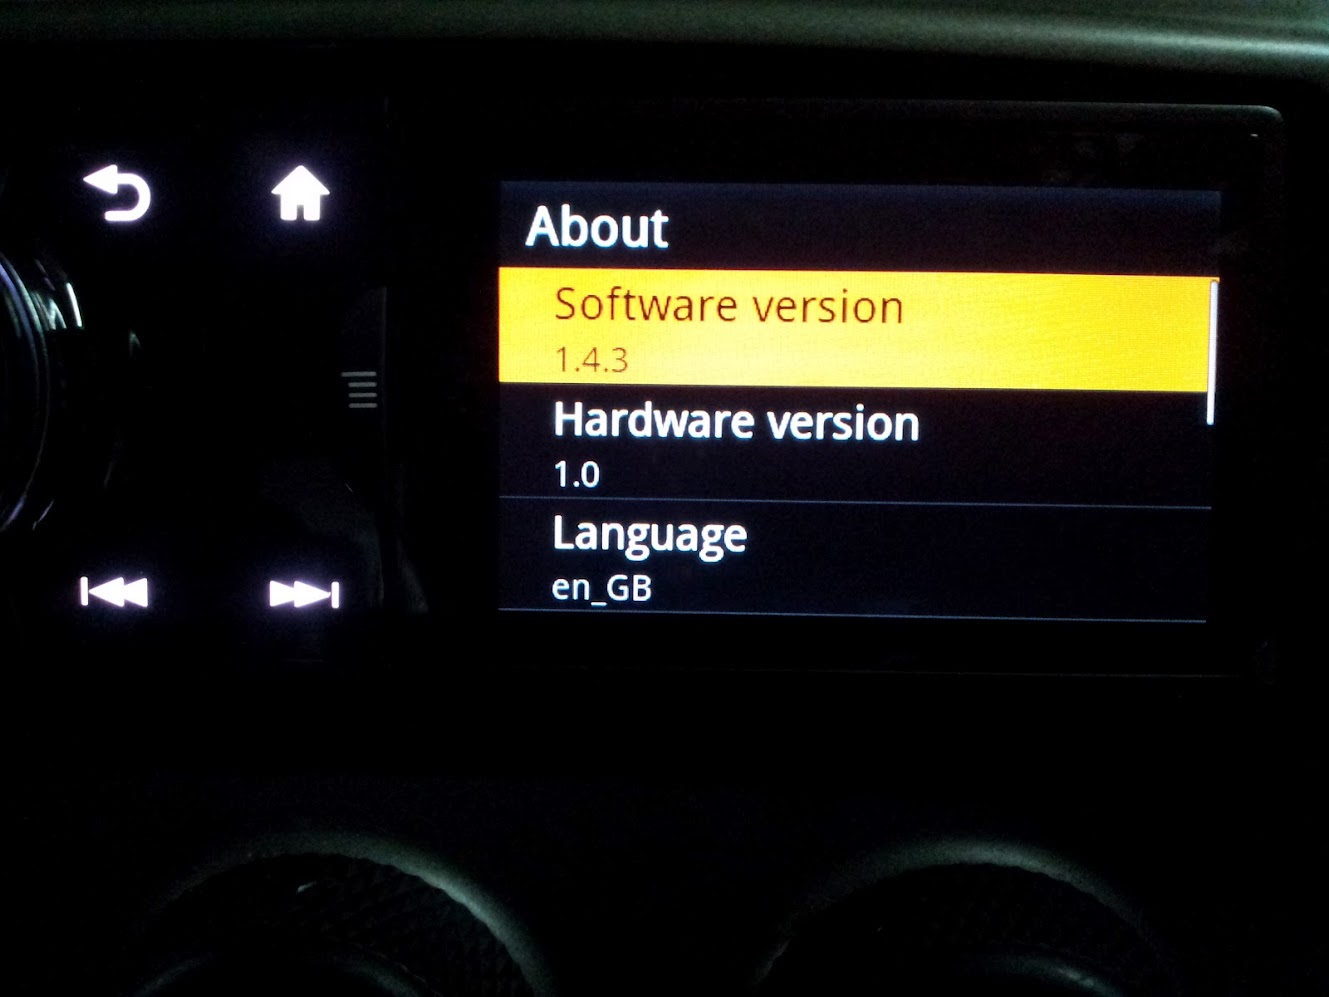
Software version, for future record.

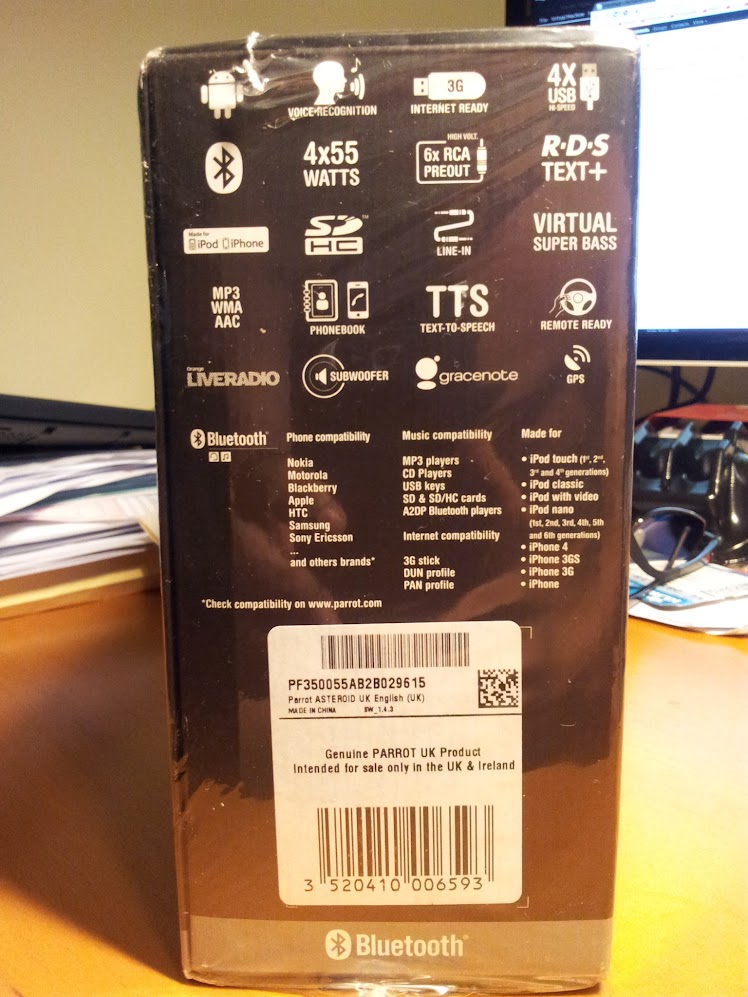
Serial number, in case I need it later.
Comments (1):
- 2014-08-05 05:27:49+0800 Hakan T. Thanks for all explanation.I’ve got Alfa Romeo 156 mk1 2002 t.spark 2.0 liter.And I think change it parrot asteroid instead of my old cd player(blaupunkt).Thanks bro for your detailing photo and explanation.
This post was originally published publicly on Google+ at 2012-05-09 03:14:47+0800