Tempeh, DIY
Tempeh is a form of food popular in Indonesia. It is made through the fermentation of soy beans by the Rhizopus mold. The growth of the mold also binds the soya beans together, resulting in a “cake” block with a meaty chewy consistency. Tempeh has a nutty, earthy flavour often described as similar to mushrooms. It is very high in protein and has no cholestrol. This makes tempeh very suitable as a meat substitute for those on a vegan or vegetarian diet.
Now I love my grilled steaks and lamb chops but the many recent virus outbreaks (bird-flu, swine-flu, SAR-COV-1, MERS-Cov, Nipah, SARS-COV-2) has highlighted the risks posed by cross-species transmission of viruses from the farming of animals. As the human populations gets larger too, the amount of resources consumed by animal agriculture required to feed humans is becoming unsustainable. I believe in the next 50 years or so, for the human species to keep growing at the current rates, more and more people will have turn towards plant-based foods as their main diet — whether by choice or necessity. It may be hard for those of us who are already used to eating meat to change our tastes, but if you feed children, it t would be good to get them comfortable with a plant-based diet.
In Malaysia, Tempeh can usually be found sold in Pasar Malams (night markets). Some supermarkets also carry them — Jaya Grocer stocks a brand called “Vandatempe”. Since our Movement Control Order (MCO) Lockdown began and we have resorted to staying at home and sourcing groceries online, it has been hard to source Tempeh.
So I figured … why not make my own Tempeh?
My “Project Build Notes” are below. The entire project was done in compliance with lockdown rules, without leaving my house.
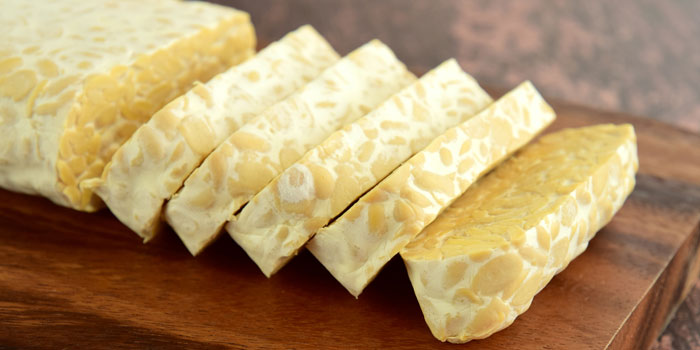
Tempeh looks a lot like Nougat … although tastes nothing like it.
This is Tempeh bought from the nearby Pasar Malam (night market). It’s sold fresh (you can feel it is a bit warm, indicating that the fermentation process is still going on) and convenient to buy.
After making my own Tempeh though, I’ve decided I much prefer the home made variety.
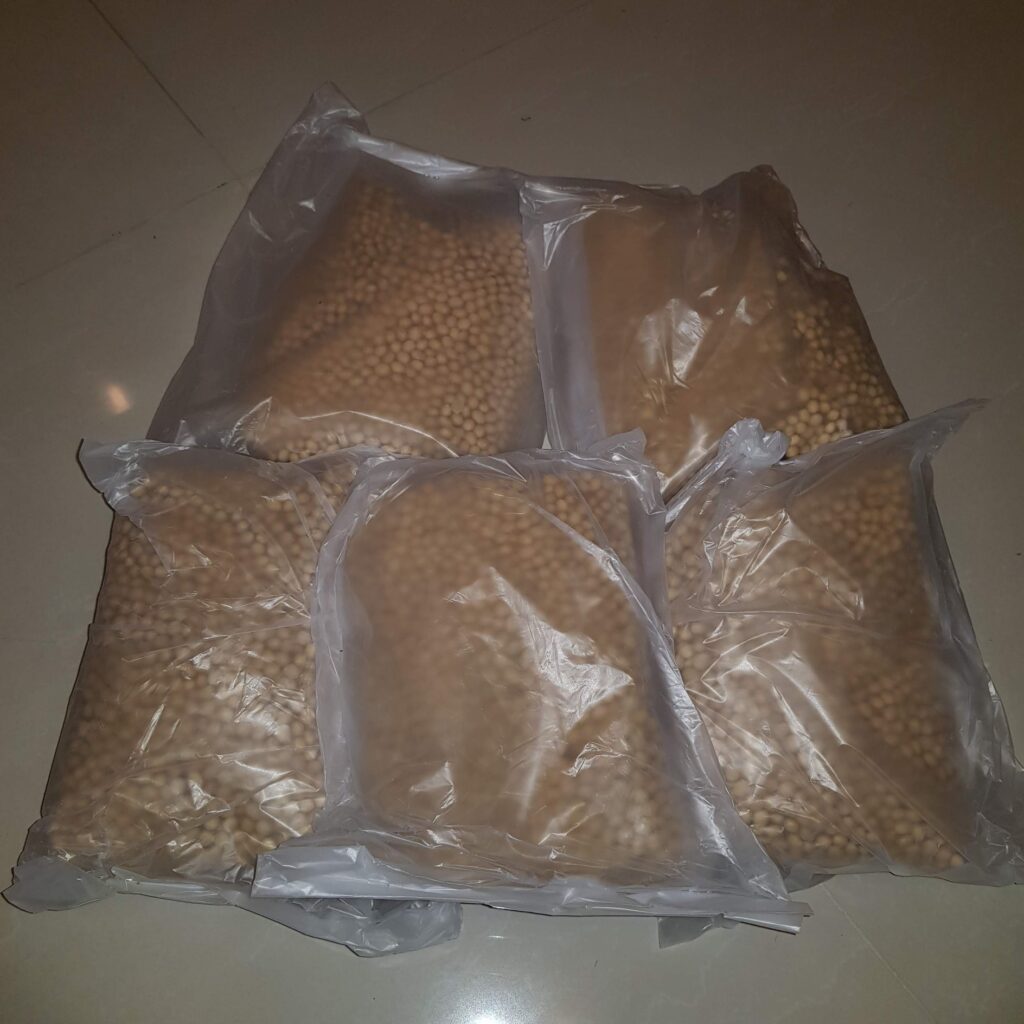
The first thing you will need are Soy Beans. Initially, I ordered my Soya Beans online from Tesco (https://tinyurl.com/y8s3skzn, RM5.46 per kg). As more and more people started ordering online, securing a Tesco delivery slot became increasingly difficult, and soy beans were occasionally out of stock. I then found Soya Beans for a lot cheaper from a seller on Shoppee (https://tinyurl.com/y7g4wbn3). The stock is imported from Canada and good for another 6-9 months. Given that I am likely to be making Tempeh for myself for the foreseeable future, I ordered 5 kg worth! It arrived within 2 days.
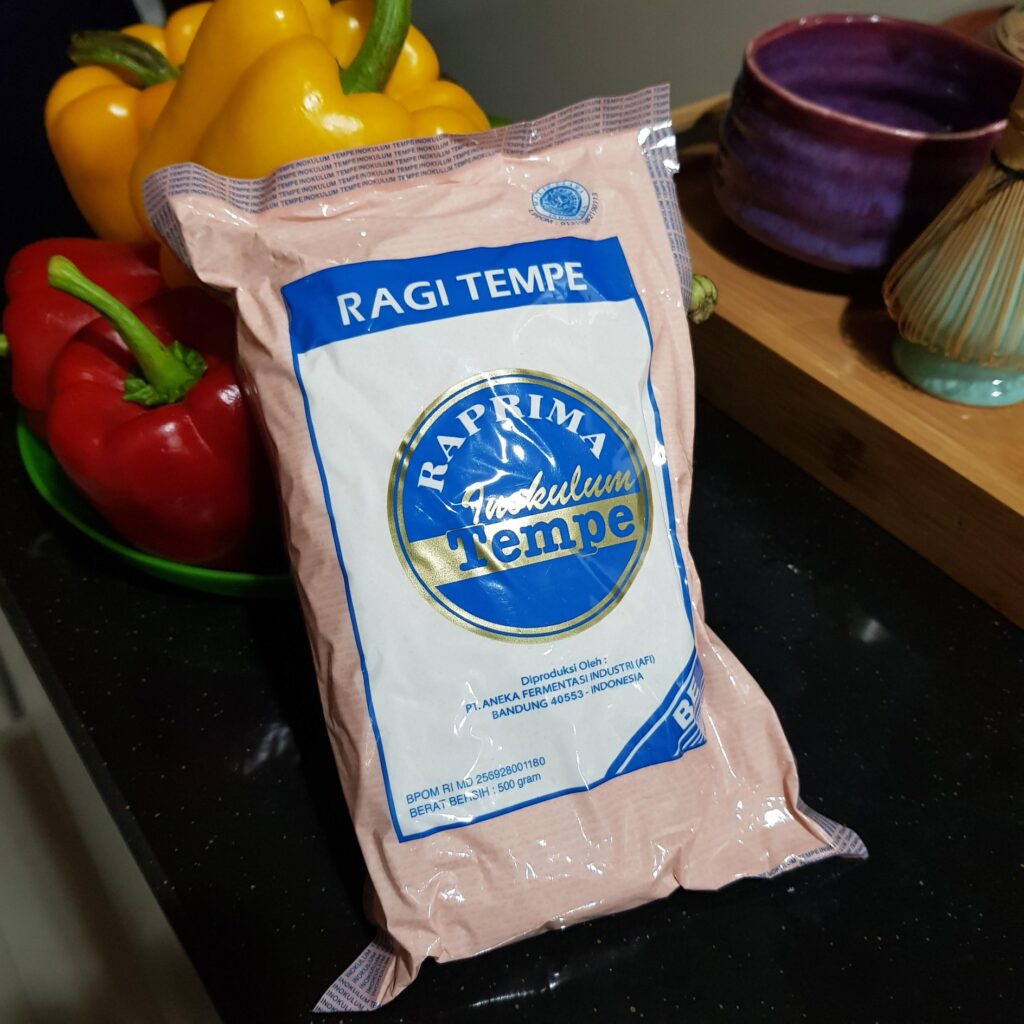
The other critical ingredient is the “Tempeh Starter”. This is a dry mixture of the rhizopus spores and rice flour. The one commonly available in Malaysia is sold under the “Raprima” brand, imported from Indonesia. I was able to find Tempeh Starter on shopee at RM13.50 for a 500g bag (https://tinyurl.com/y9gyl2b4). Now 500g is quite a lot, since you only need a around 1 teaspoon full per batch, and they have an expiry of 1-3 months as sold here. After 3 months mine are still usable, so we shall see (To make things worse, I accidentally sent my order to my parents house, and with no way to legally go there to collect it at the time, had to order a second packet. I now have a kilo of the stuff!).

It doesn’t take much effort to make tempeh, but the process does stretch for a few days. I start with washing the soya beans, and soaking them under water overnight. I usually use 2-3 cups worth for each batch. If you have many mouths to feed, you can benefit by making larger batches. I placed the beans into a pot, and filled it with water making sure the water level is about 2″ above the surface of the beans, and covered the pot with a lid.
The beans are then left to soak overnight (12-24 hours).
The purpose of soaking the beans is to soften them and make them faster to cook. It is also said that soaking the beans breaks down some of the complex sugars in the beans which some people have a problem digesting.
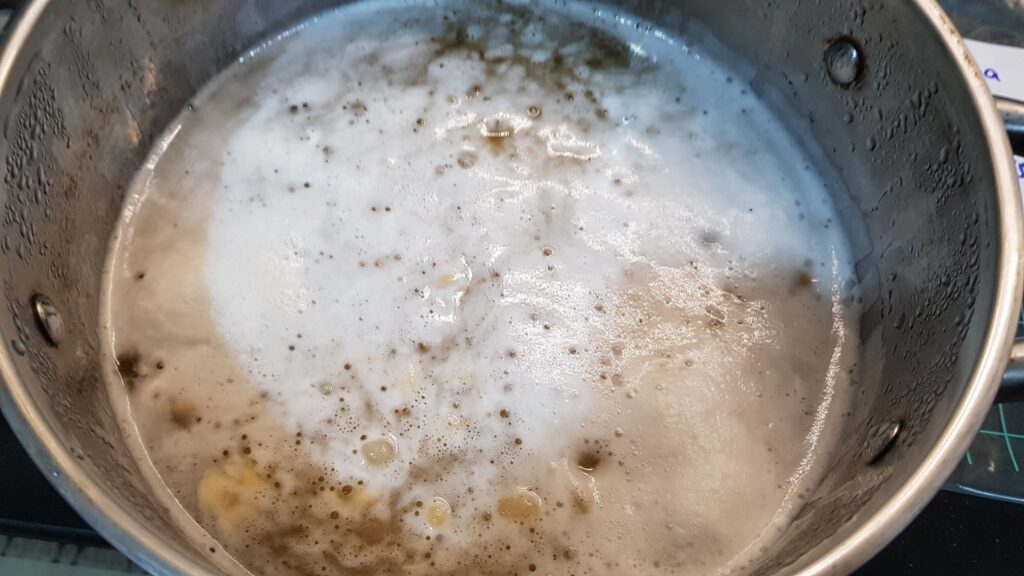
When you open the lid after 12-24 hours, you will find some with froth on the surface of the water. Don’t panic, this is normal when soaking most types of legumes. It is due to the Saponin contents of the beans which becomes foamy when dissolved in water (https://tinyurl.com/ya2aw7r8). It can be a bit stinky, so drain out all the water and give the beans a good rinsing.
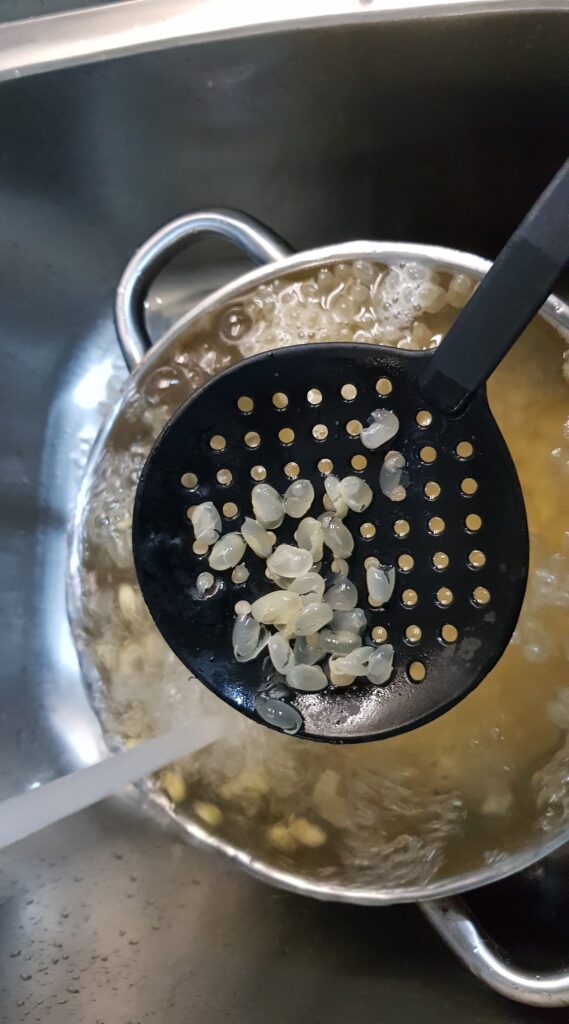
Now for the most tedious part. We need to dehull or remove the skin from the soya beans. I find it easiest to do this in two stages. First fill up the pot with water, and rub the beans between your fingers and against each other. The skins will start peeling off and float in the water. It is okay if you miss out a few beans, but try to get the majority of the beans dehulled. The skins will usually float to the top of the water. Next, I use a fryer scoop to lift the skins out of the water. It can help to run the water in the pot till it overflows, carrying the skins with it out of the pot. It may also help to stir or agitate the pot, so that any skins stuck between beans will become loose and float. Again, if you fail to remove 100% of the skins, it’s fine.
Some of the soya beans will split when you dehull them, this is not a problem either.
Some recipes suggest just leaving the skins on and cooking the beans for longer. From my experiments, I find the extra few minutes spent dehulling them are worth the effort.
We are now ready to cook the beans. You can use a stove and just boil the beans for an hour or two. I don’t like this method as you have to keep topping up the water or risk the beans getting burnt (been there, done that). I now find it more convenient to just put the beans into my pressure cooker, where cooking it for 45 minutes to 1 hour is sufficient.
You can also try steaming the beans for an hour.
Towards the last 5 minutes of the boil, add in 1 tbsp of vinegar and stir the pot so it distributes evenly. I used Apple Cider Vinegar (https://tinyurl.com/y98byj5b), but it doesn’t really matter what type you use (the apple smell is not present in the final product). The purpose of this is to create a slightly acidic environment, as this will inhibit the growth of bacteria.

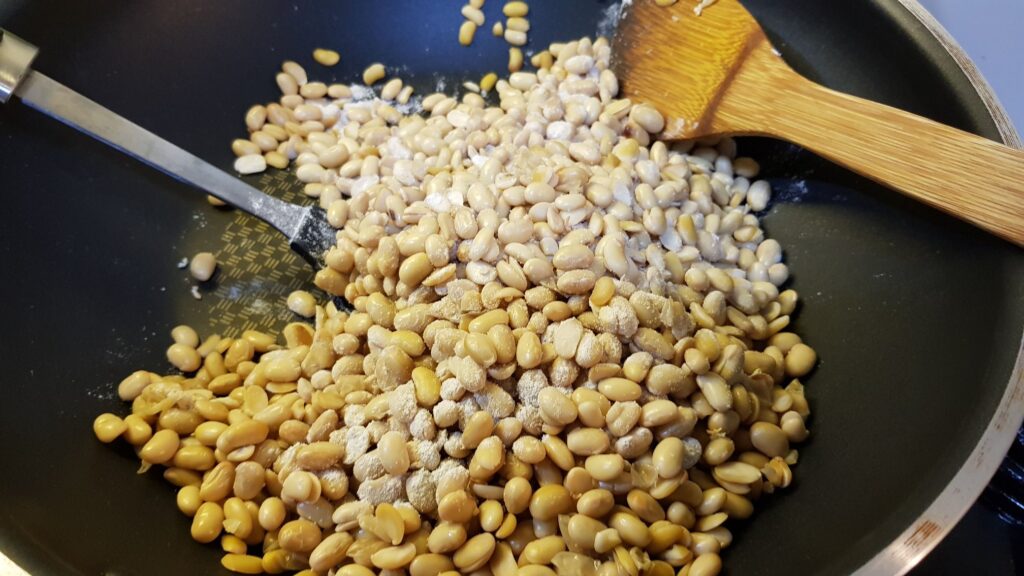
Next we need to dry the cooked soya beans. I pour out the pot’s contents through a strainer, and placed the soy beans in a wok / pan, and put it on a low heat. We just need enough heat so that any water trapped between the beans can evaporate away. Keep stirring until there is no more steam rising, and make sure not to burn the soya beans.
Wait till the beans have cooled down to room temperature (it is very important not to proceed while the tempeh is still hot). Then I sprinkle in 1 teaspoon of “Tempeh Starter” and mix the soya beans well so that the starter is evenly distributed.
Traditionally, soya beans are wrapped in hibuscus leaves to produce Tempeh. There are naturally growing rhizopus mold on the hibiscus leaves, and so the Tempeh production occurs naturally.
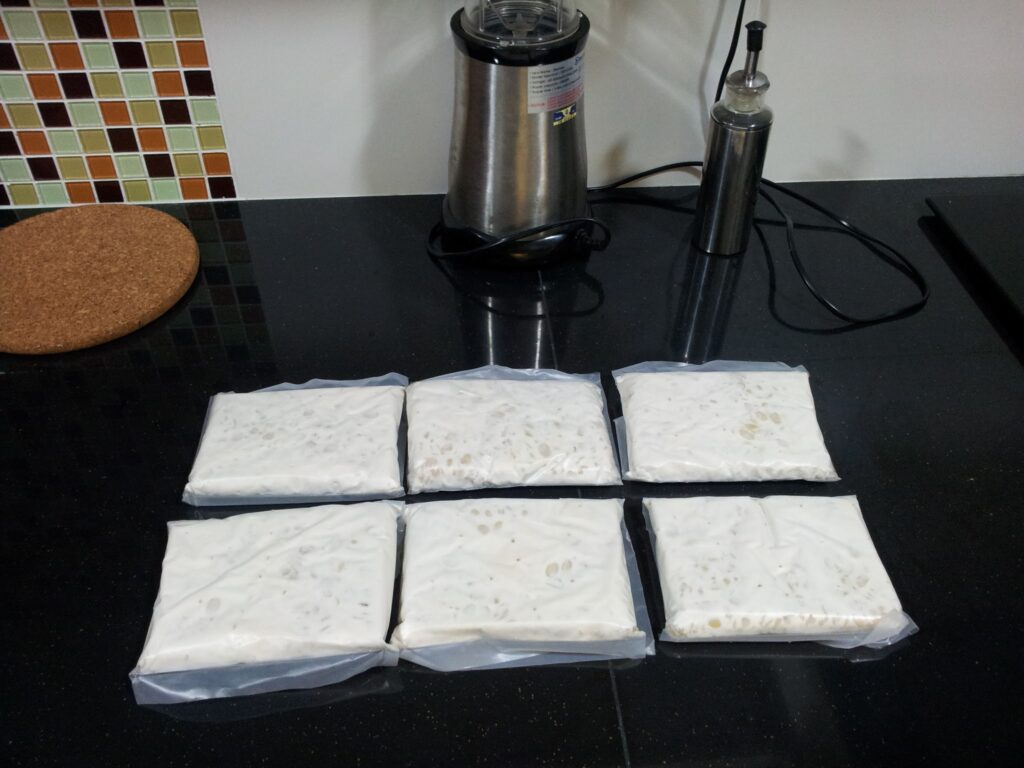
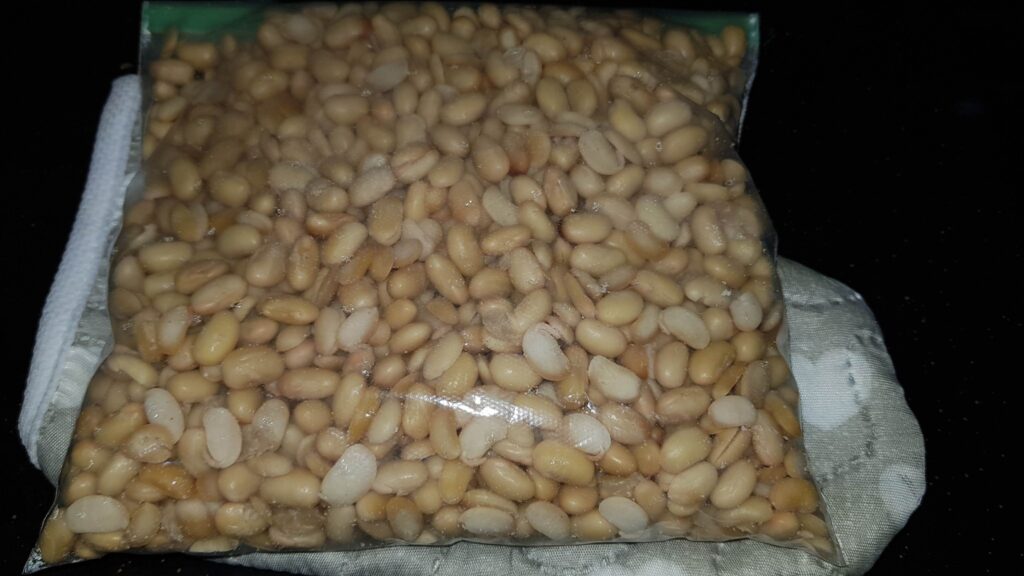
I use zip lock bags. The bags will form the shape of the Tempeh cake so choose a size of zip lock back commensurate with the amount of beans you have. You want the bags pretty full so that the bag gives the “shape” to the Tempeh.
To grow, the spores in the Tempeh Starter need to breathe air. So we need to poke holes in the bag. I used a pointed tooth pick, and making sure to include the corners, poked a hole through the bag in a 1″ grid. Make sure the holes are on both sides of the bag.
Now just leave the bag by itself for 24 hours, so that the Tempeh Starter can start fermenting the beans.
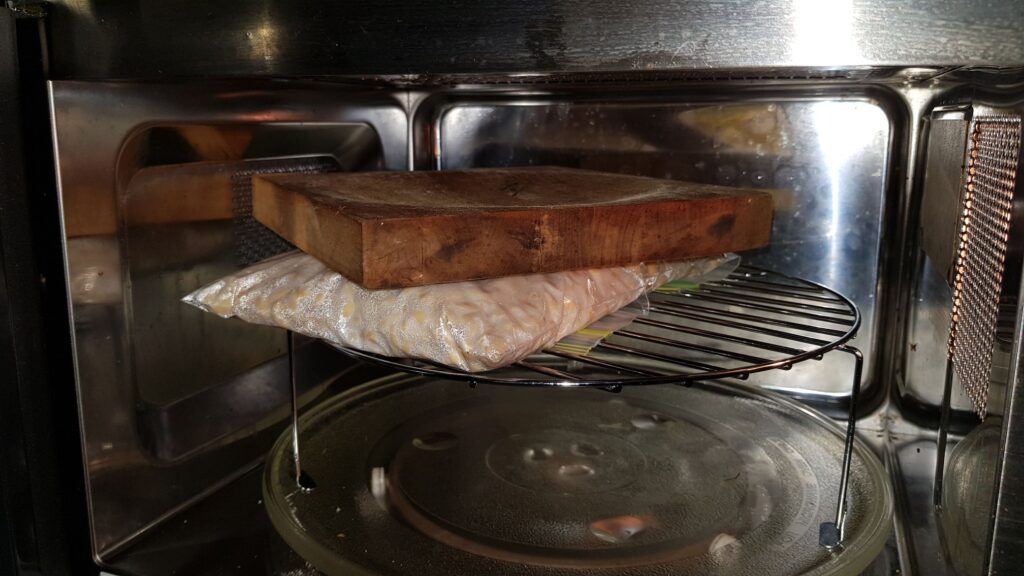
In cold countries, people use an incubator box which provides heat at just the right temperature for this to happen (ideally 30-31C https://tinyurl.com/ycrnrb4o). It’s been suggested to leave it in a microwave or oven with the door slightly opened so the light comes on — the incadescent bulb will provide a low amount of heat.
I tried this for my first batch and found the ambient temperature in my microwave oven with the light on was around 42C … a bit higher than needed, but it worked fine.
However, for my subsequent batches, I just left the zip lock bags of soya beans out on my kitchen counter — and they worked fine too! So fortunately for me, in Malaysia and Indonesia, the ambient house tempearture is perfectly fine for fermenting tempeh. I think having it placed out in the open provides better air circulation too.
It is important to put the Tempeh on a mesh or wire rack while it is fermenting — remember we poked holes on the bottom of the bag too? The air needs to to get in from the bottom too so that the mold growth is even.
Initially it will seem like nothing is happening. You will feel like you have failed. But after around 12 hours the zip lock bag will start to feel warm — warmer than it’s surrounding air (I’ve measured it going up to around 44C). There may also be some condensation in the bag making it hard to see what is going on.
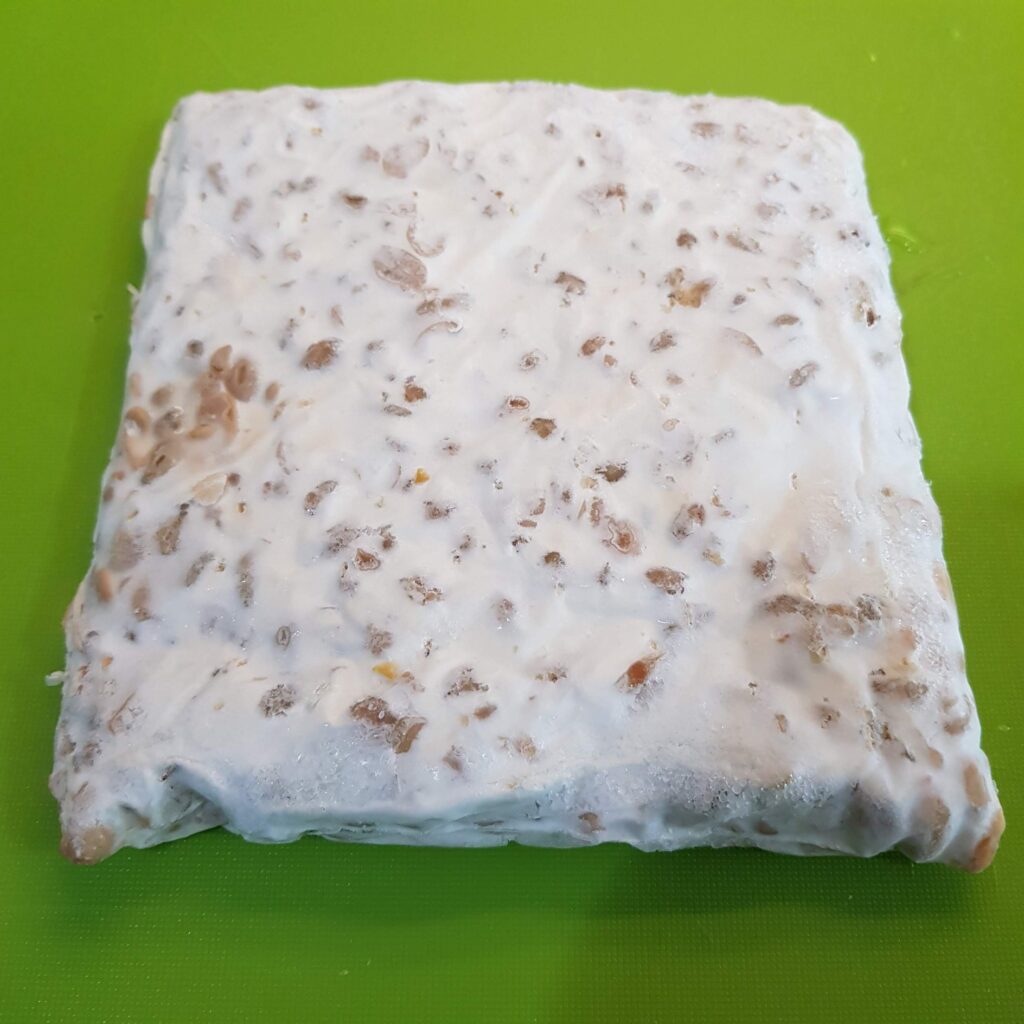
What has happened is that the mold in the Tempeh Starter has started to germinate. By providing the spores with air, a warm temperature, and food it starts to grow and in the process also chemically breaks down the Soya Beans. The mold will initially appear as powdery white, but as it grows will form a thick white block.
If left to grow further, you may find black spots or gray patches appearing. This is normal and is the mold forming spores … similar to the black bits under a mushroom. If you are unsure, do a smell test — it should smell earthy and nutty. The spores indicate that the Tempeh has matured to its peak of flavour — it can be a bit overwhelming if you are not used to it, so I suggest stopping the fermentation process early if you are new to this.
You can stop the fermentation and growth process and inhibit the appearance of spores by cooking the tempeh. If you are not sure how you want to cook it just yet, you can steam it, which will remove the bitter taste but keep the rest of the flavour in, and store it in the fridge for a few days.
You can also keep the tempeh in the the freezer if you want to store it for a longer period (if placed in the fridge fresh, the fermentation process will still go on, albeit at a much slower rate).
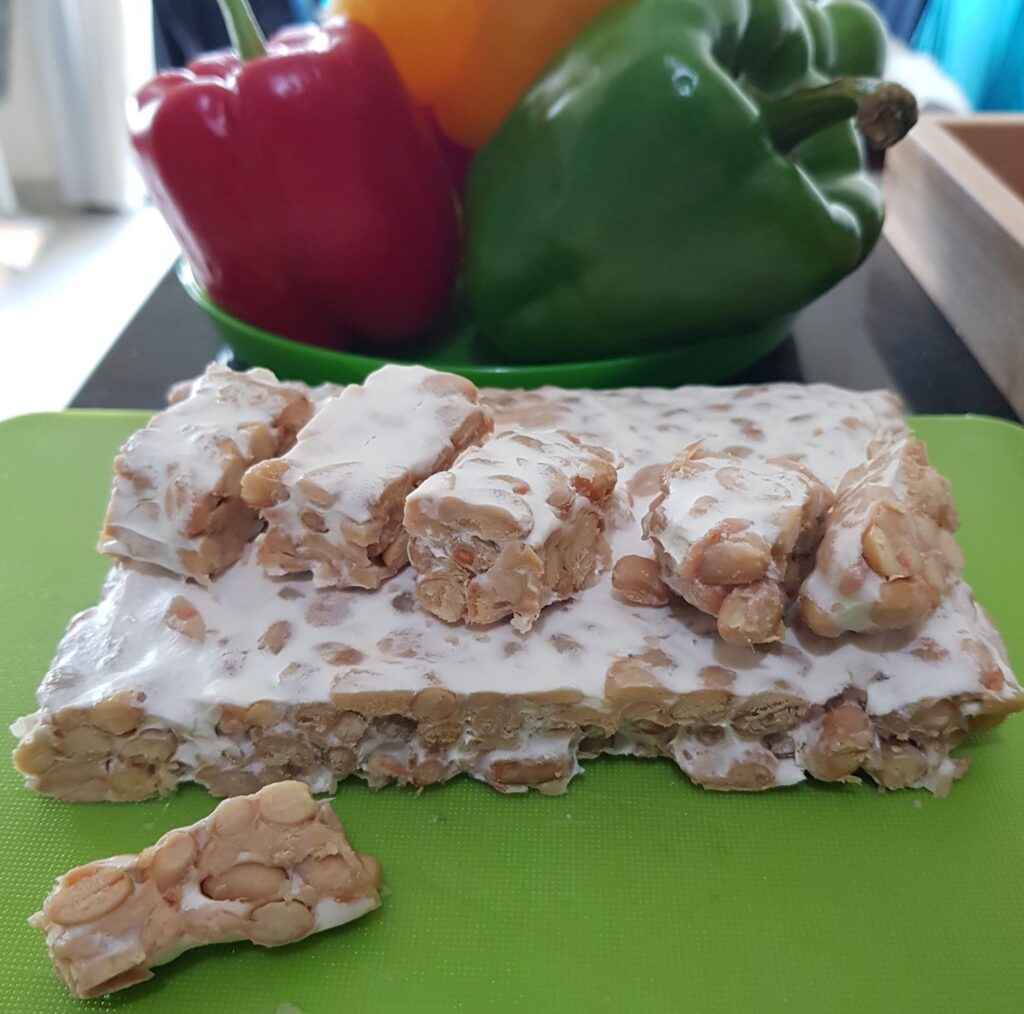
Here’s a photo of the tempeh sliced.
Raw Tempeh has a slight bitter taste, this taste disappears when the tempeh is cooked. Depending on your recipes there are a number of ways to use Tempeh!
The more you start eating Tempeh, the more you will grow to appreciate the full flavour of tempeh, including the black/grey bits. In Indonesia, Ripe tempeh known as “tempeh semalam” (yesterday’s tempeh) or “tempeh busuk” (stinky tempeh) is considered a delicacy due to its strong flavour.
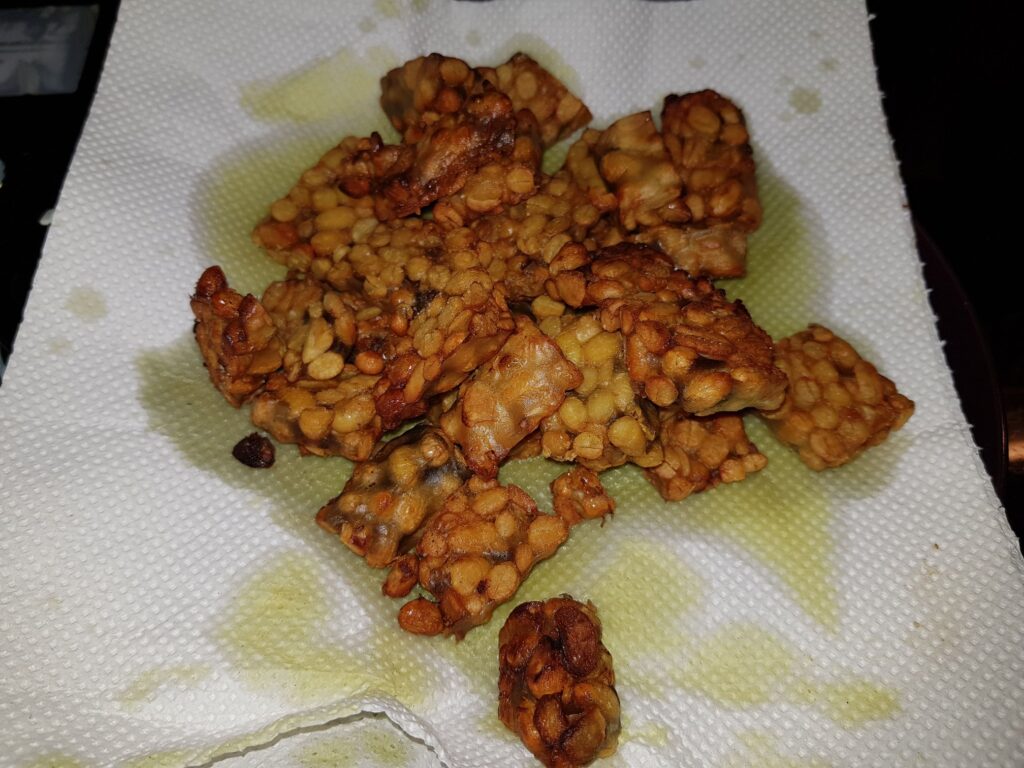
A common way to prepare Tempeh is to deep fry it, together with a bit of salt and turmeric. This is tasty enough to eat on its own as a snack.

It can also be used as a protein supplement in another dish. Here I’m using it with its cousin tofu in a fried mee hoon dish. It’s often eaten together with rice as well.
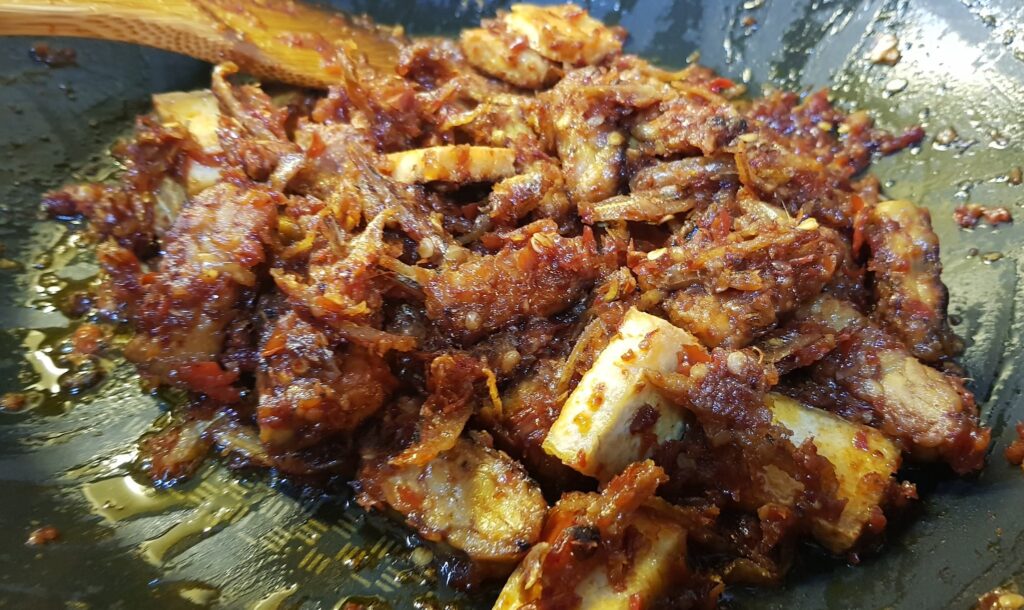
Another traditional preparation is to fry it and then mix in anchovies, onions and chillies into a sambal. The tempeh will absorb the hot chilli flavour from the sambal to give you a satisfying kick! I like to keep a tupperware or two of this in stock in the fridge at all times, as it can form a simple yet enjoyable meal just eaten with white rice.

Tempeh can act as a perfect meat replacement. Here I marinated the tempeh with soy sauce and pan fried them, and served it in a tortilla wrap with sour cream, sliced/grated cheese, romain lettuce, tomatoes and dash of mustard.
See:
- https://simpleveganblog.com/marinated-tempeh-wraps/
- https://healthyhappylife.com/smoky-tempeh-avocado-wrap
- https://vegetariangastronomy.com/seared-tempeh-wraps-wthai-peanut-sauce
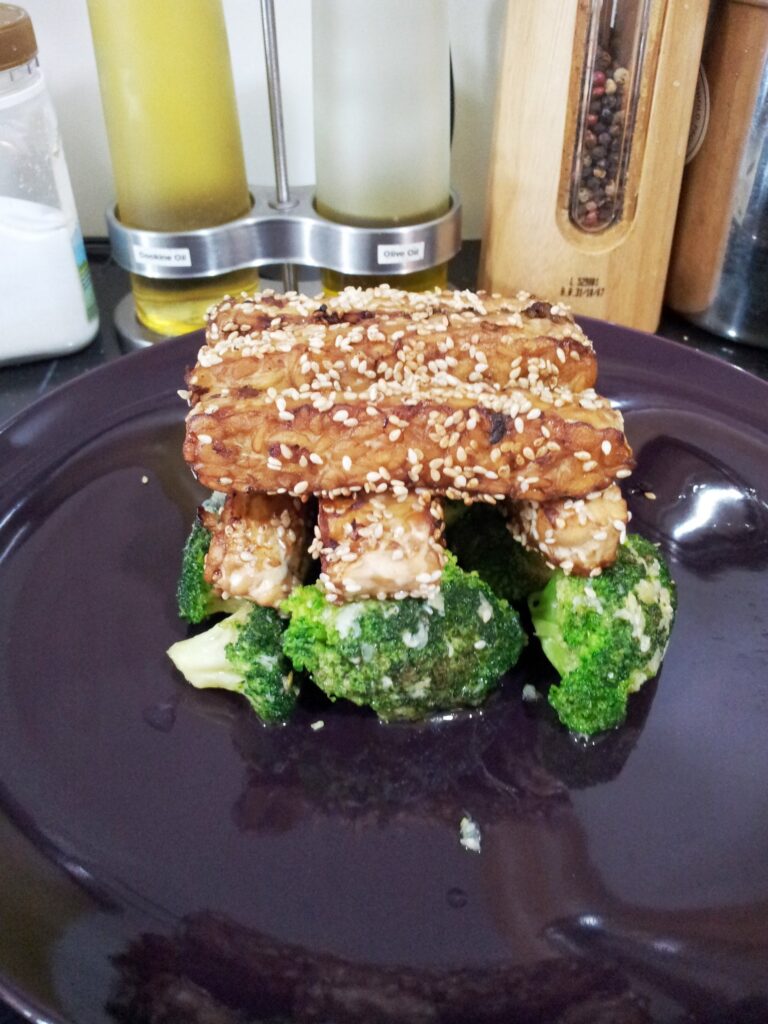
Tempeh works well stir fried with vegetables too. See https://www.budgetbytes.com/sesame-tempeh-bowls

There are also Tempeh Burger recipes! You can cut them into larger sizes, steam them for 15 minutes, then marinade in soy sauce/cayenne pepper/cumin and pan grill like a regular burger. They are excellent together with roasted tomatoes, caramelized onions, mushrooms, grated cheese, lettuce, avocado, and tahini, sandwiched between bread.
Some recipes also call for crumbling the Tempeh cakes into smaller bits, where it is used in placed of minced meat in the making of burgers or bolognese sauce.
See https://heartyvegan.com/blackened-tempeh-burgers. And this …
You can learn more on Tempeh from these links:
- https://www.youtube.com/watch?v=Hm455GV3afs&ab_channel=JoannaSohOfficial
- https://www.tempeh.info/
- https://soyboy.com/2019/08/08/what-are-dark-gray-black-spots-on-tempeh/
- https://books.google.com.my/books?id=hdKzFlaqWT8C&pg=PA14&source=gbs_selected_pages&cad=3
- https://www.onegreenplanet.org/vegan-food/6-amazing-ways-to-eat-tempeh