Alfa 156: No sound from speaker

It’s happening again, there is no sound from one of the speakers. Or more accurately, there is intermittently no sound from the tweeter on the driver’s door. An intermittent sound is most likely a loose connection, so … no need to send to shop lah, DIY.
(Real reason: Someone dumped a whole load of work stuff that I don’t really like to do, and the mind would rather switch off and do something using my hands instead).
Fortunately I have my notes from the last time, though when you’re watching someone else do it, you get less details. So here’s a more detailed guide.
The main goal is to get the door card off so I can check on the wiring. Here are all the tools you need:
-
- Philips screw driver (or my bosch power screw driver)
-
- small flat screw driver
-
- 4mm hex key
-
- 10mm socket + ratchet
-
- Needle nose pliers
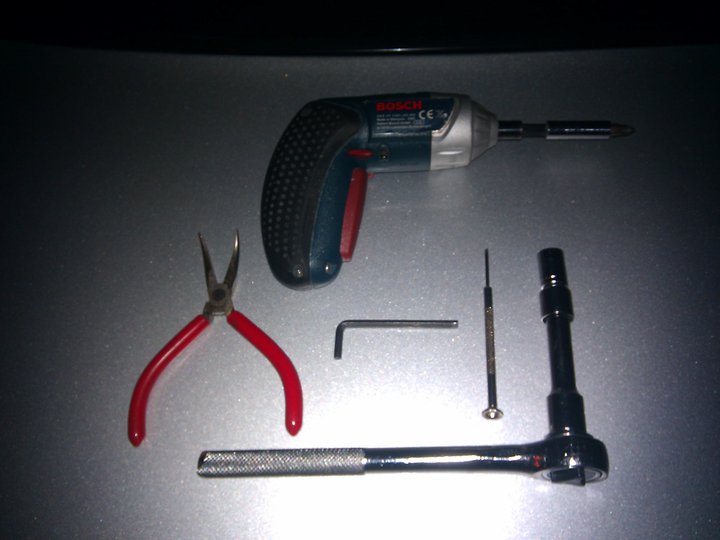
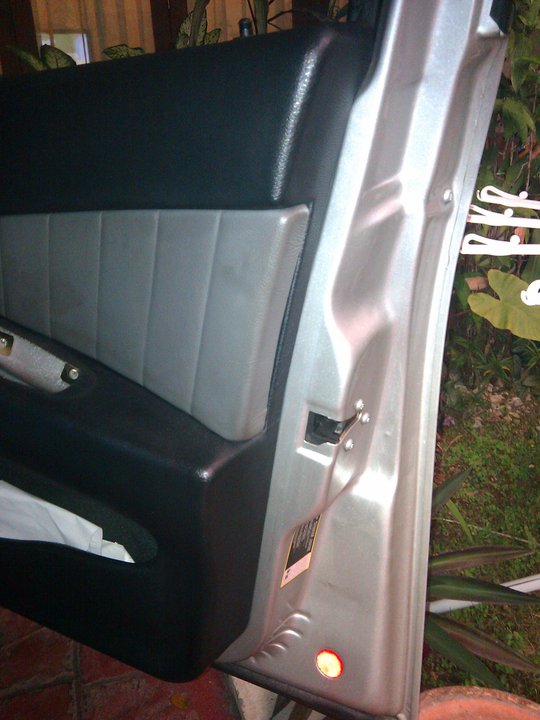
Here’s a picture of what everything looks like initially:
Start by taking prying out the rubber “carpet” in the door “handle” using the tiny flat screw driver.
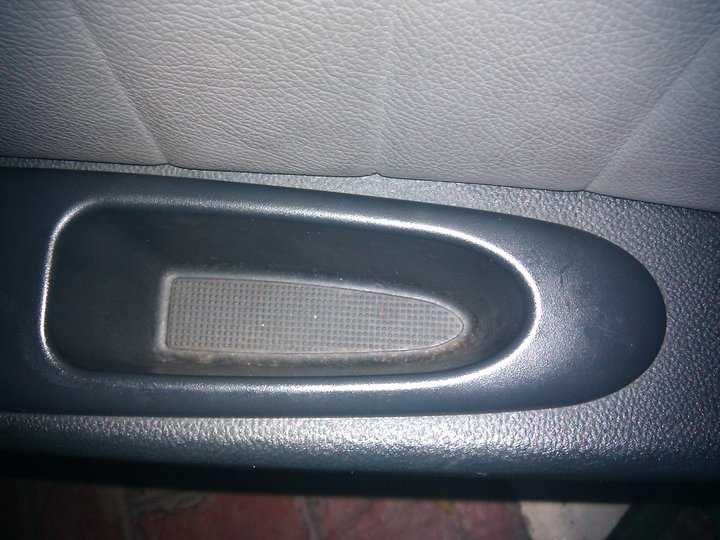
It’s just sitting there, so should pop off easily.
Underneath are two hex bolts that fasten the switch module to the door … use the 4mm hex key to remove these.
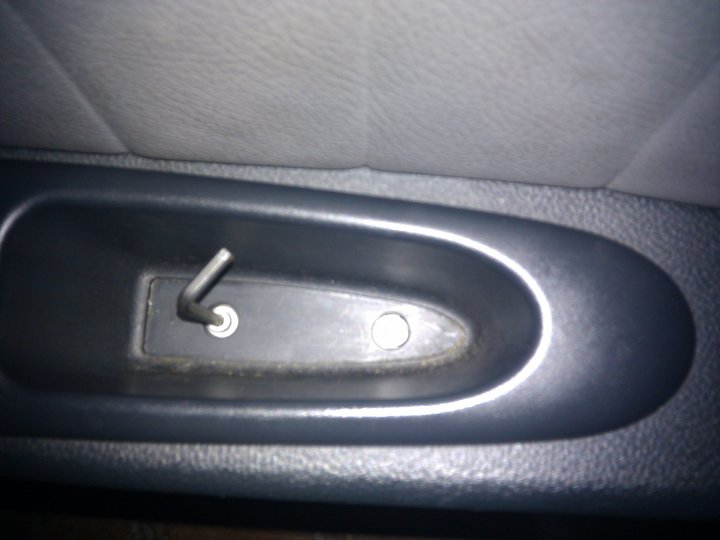
Gently lift the rear portion of the switch module and slide it backwards, and the entire thing should come loose. Disconnect all the wires from the connectors on the back (they’re colour coded, but try to keep a mental picture of what goes where anyway).
Then, using a 10mm socket driver, take out the two bolts that hold the door handle to the door.
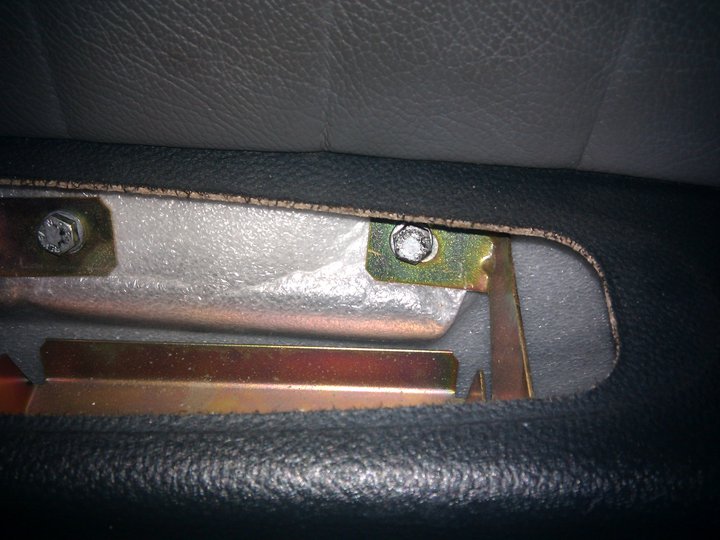
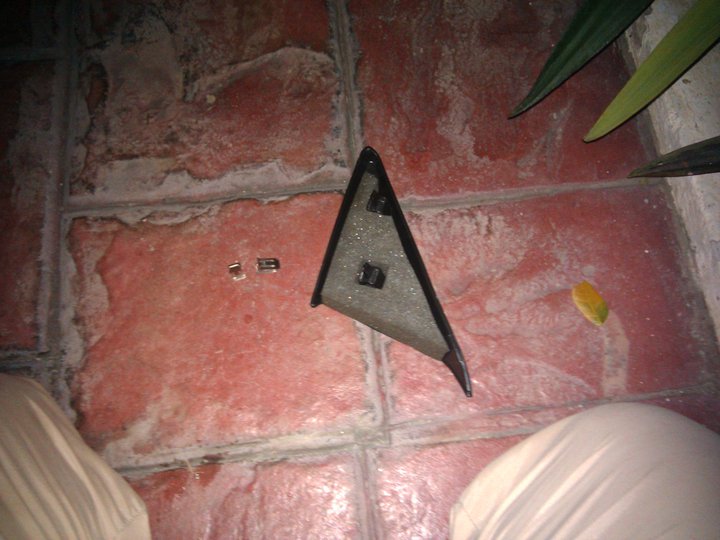
Next, pull the triangular cover at the edge of the door towards you and upwards.
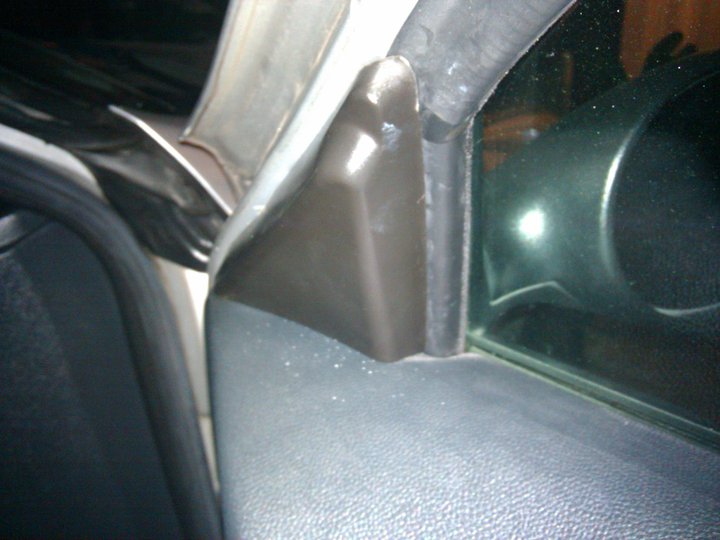
This has a tendancy to leave its metal clips in the door, which you need to remove using the needle nose pliers and refit to the hooks on the triangular cover itself.
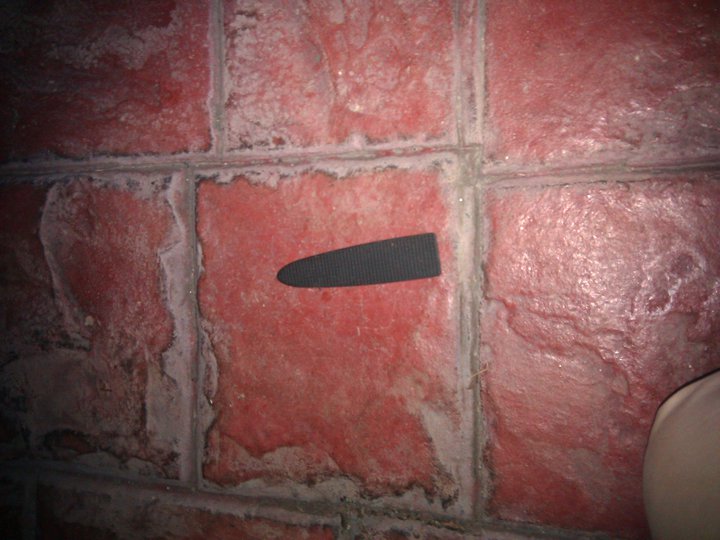
Using the tiny flast screw driver, remove this cover from behind the door handle:
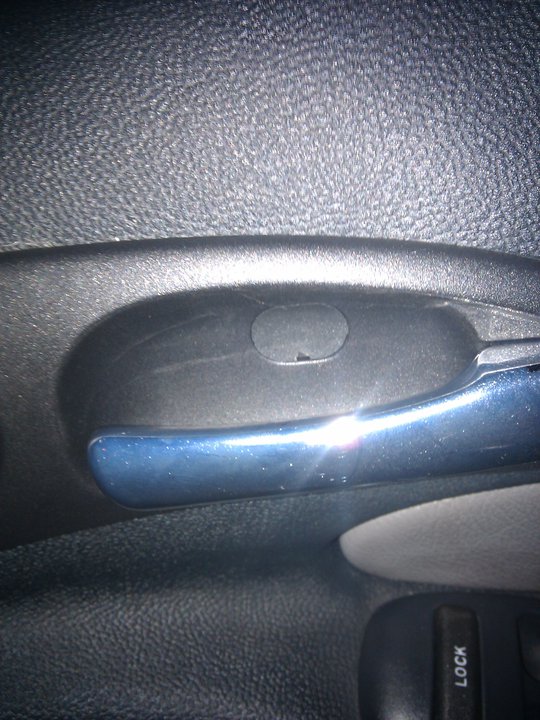
Then take out the screw behind it. Pull the handle to the “open position” and pull the cover towards you and towards the rear of the car. It should pop-off, with wire trailing to the tweeter. if your installer was any good, there would be a connector here where you can detach the piece from the wire.
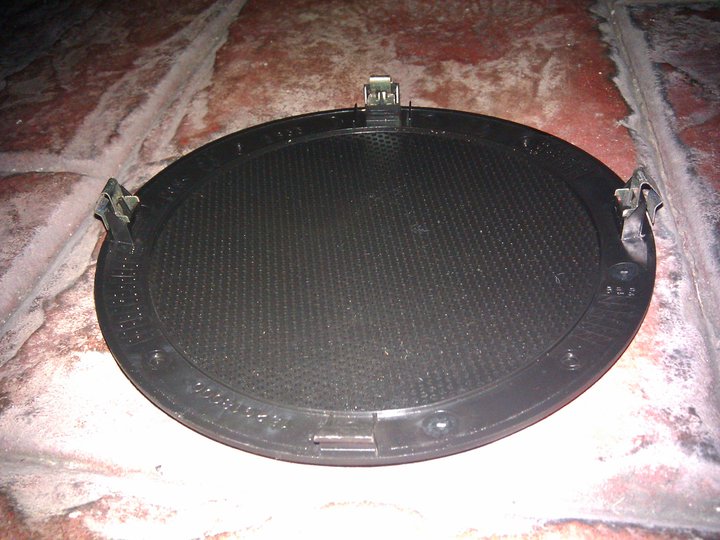
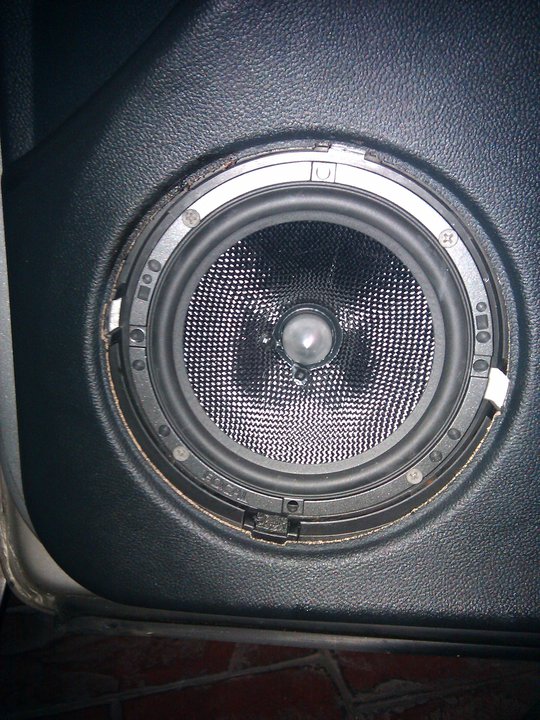
Next the woofer grille cover.
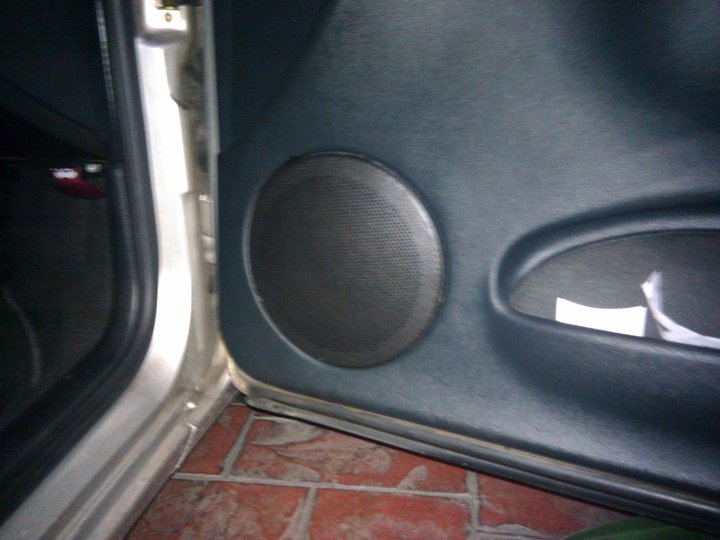
Slide the small flat screwdriver behind the grille (either the top, left, right or bottom — depends how it was put in; I usually standardize on the top) and pry the speaker cover loose.
Then unscrew the woofer from the door frame. Careful, it’s a bit heavy.
Take out the speaker wires off the back so you can put the woofer somewhere safe.
By this point, you should be able to pop the door card off the door frame. The “top” part of the door card “hooks” onto the door frame, so pull the sides and bottom away from the door … I started from this edge:
However, in my case the area near the woofer would not budge … closer inspection reveals that my door card was screwed into the door frame itself, probably to limit the woofer vibrating against the door card. So unscrew those two screws as well:
Once you’ve popped out the sides and bottom, you can now lift door card off the door frame. Watch out for the hole where the lock button goes (Note: it helps if you had opened your window at the beginning. I didn’t and it was too late to wire everything up again at this point to get to the automatic window). This is what the door card looks like removed, you can see the points where it plugs into the door clearly:
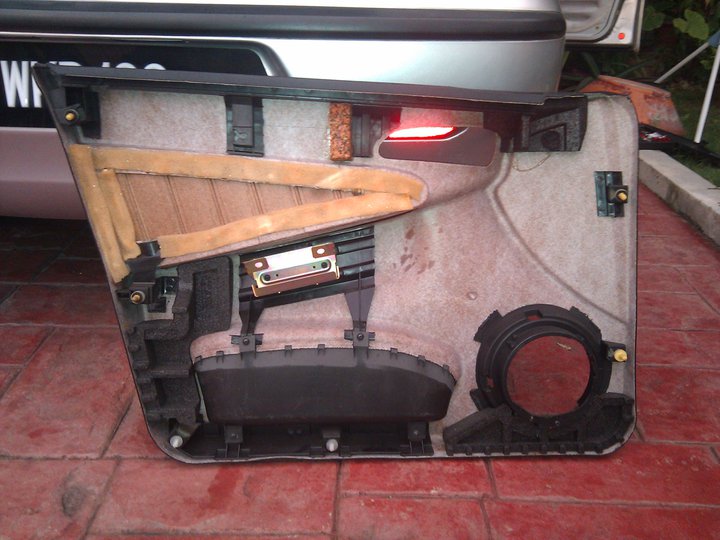
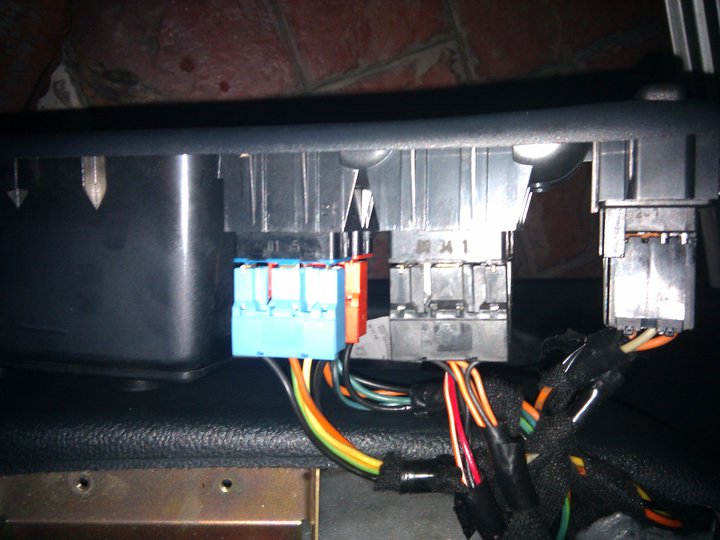
Here’s what’s underneath:
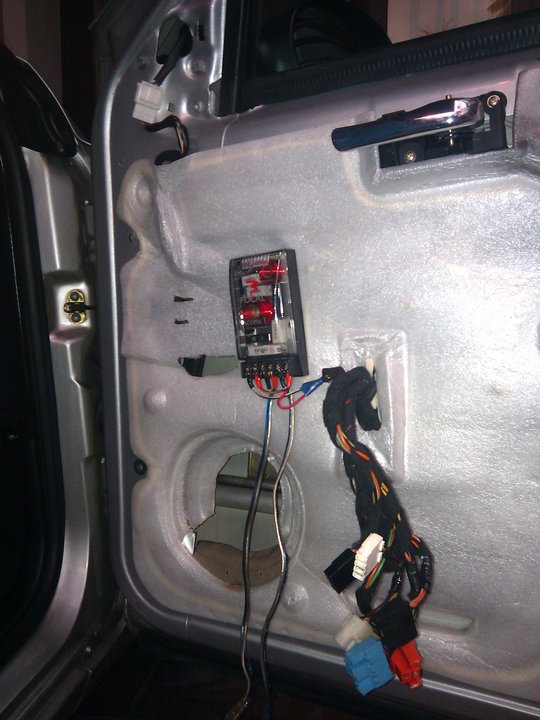
The wires that come from the car body into the door split into three: (1) goes to the electric mirror, (2) another set are the connectors that plug into the door control module and (3) two wires are the speaker wire from the amp. These feed into the crossover module, which splits the sound for the woofer and tweeter.
I checked the all the connections and they were tight, and nothing seemed to be loose inside the crossover box as well.
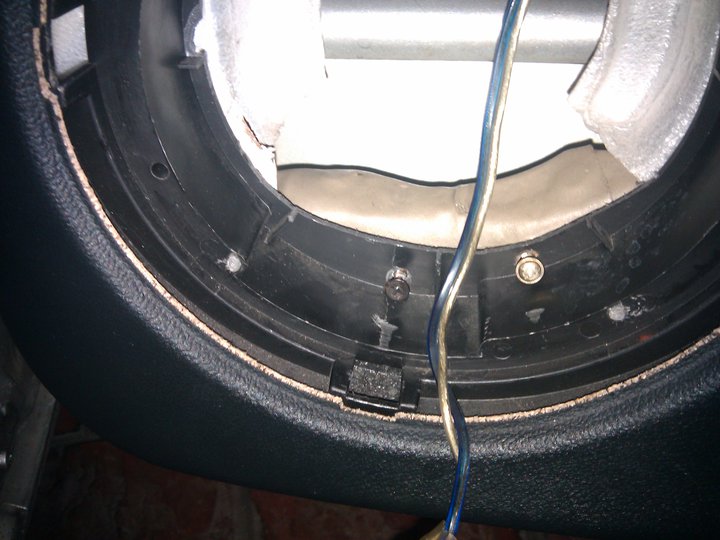
However, one of the connectors for the tweeter wire came off in my hand. It’s the other end of this:
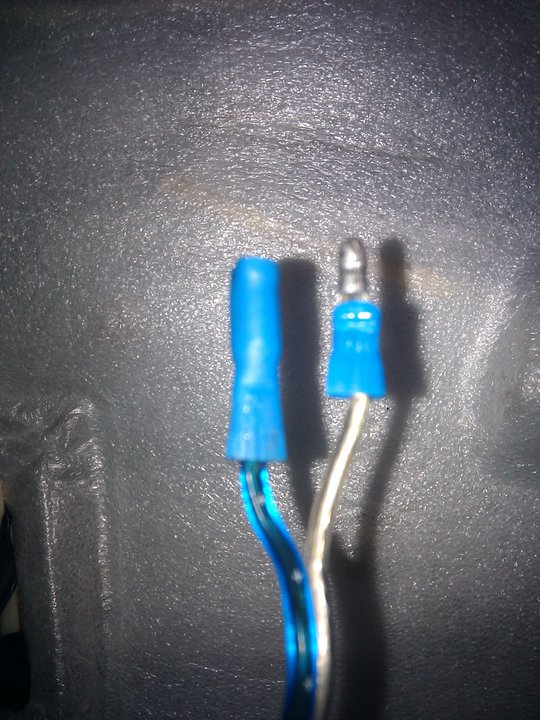
It’s the type that crimps on to the wire, and I guess came loose. This is why I hate crimping type connectors.
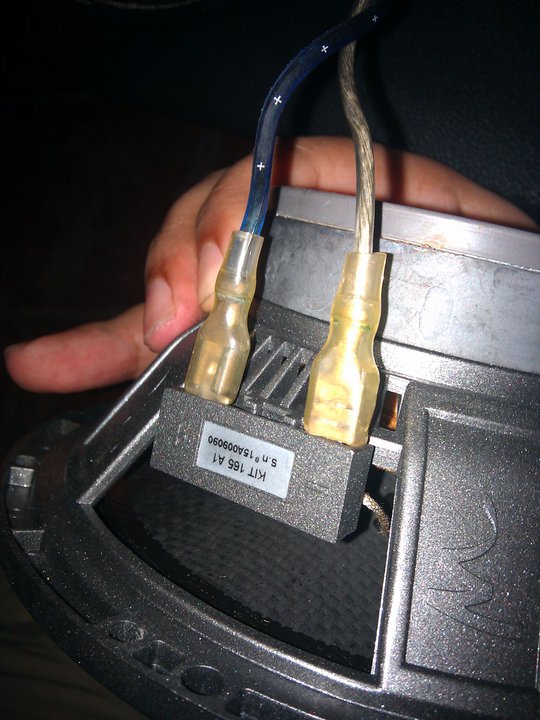
I didn’t have the right tool to tighten it back, so got a really big set of plyers and squeezed as hard as i could. Hopefully, it sticks.
note: The installer was quite clever to use male and female connectors to distinguish the positive and negative sides — you can’t accidentally wire them backwards.
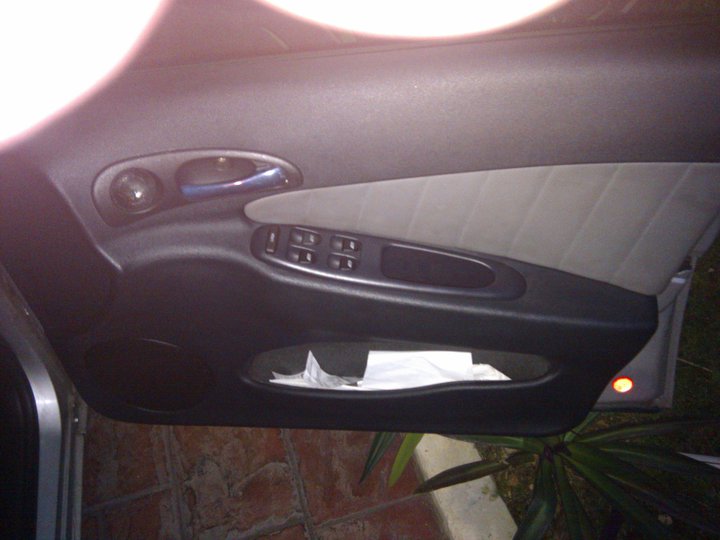
After that, I switched on the engine and tested the music while wiggling wires around … seems quite stable. So I put everything back together in reverse order.
Next is to do an actual drive test on a bumpy road and see if the sound cuts out anymore. Unfortunately it was already dark (1900) and started to rain … so that shall wait for some other time.
PS: pictures were taken using handphone, hence the quality. Also you might realise they were taken as I put things back together … the ambient light goes from dark to light.
This post was originally published as a Facebook Note at 2010-04-21 21:33:43 +0800.