DPH-5005 Benchtop Power Supply Project
Up till now I have been using 12V and 5V power supply units on my desk to power various stuff I am tinkering with, from data loggers to sensors and so on. As I didn’t like the open power terminal connectors, I 3D-printed an enclosure for them. I also took the opportunity to make multiple output terminals, so I can easily connect multiple devices simultaneously. Each output terminal has its own switch and LED and also a fuse.
This is fine and good for working with stuff that works. But I’ve been increasingly working on experiments and stuff where a constant (or limited) current supply would be safer to use. I’ve also had situations where a lower voltage supply such as 1.8V or 3.3V, or even higher such as 24V would be useful to have.
Enter the RUIDENG DPH5005 boost-buck power controller. This device takes in a DC voltage from a power supply, and can step up or step down the output voltage to between 0.0 to 50V, and allow you to limit the current from 1mA up to 5A. It comes in kit form, with a boost-buck module, and a separate display module.
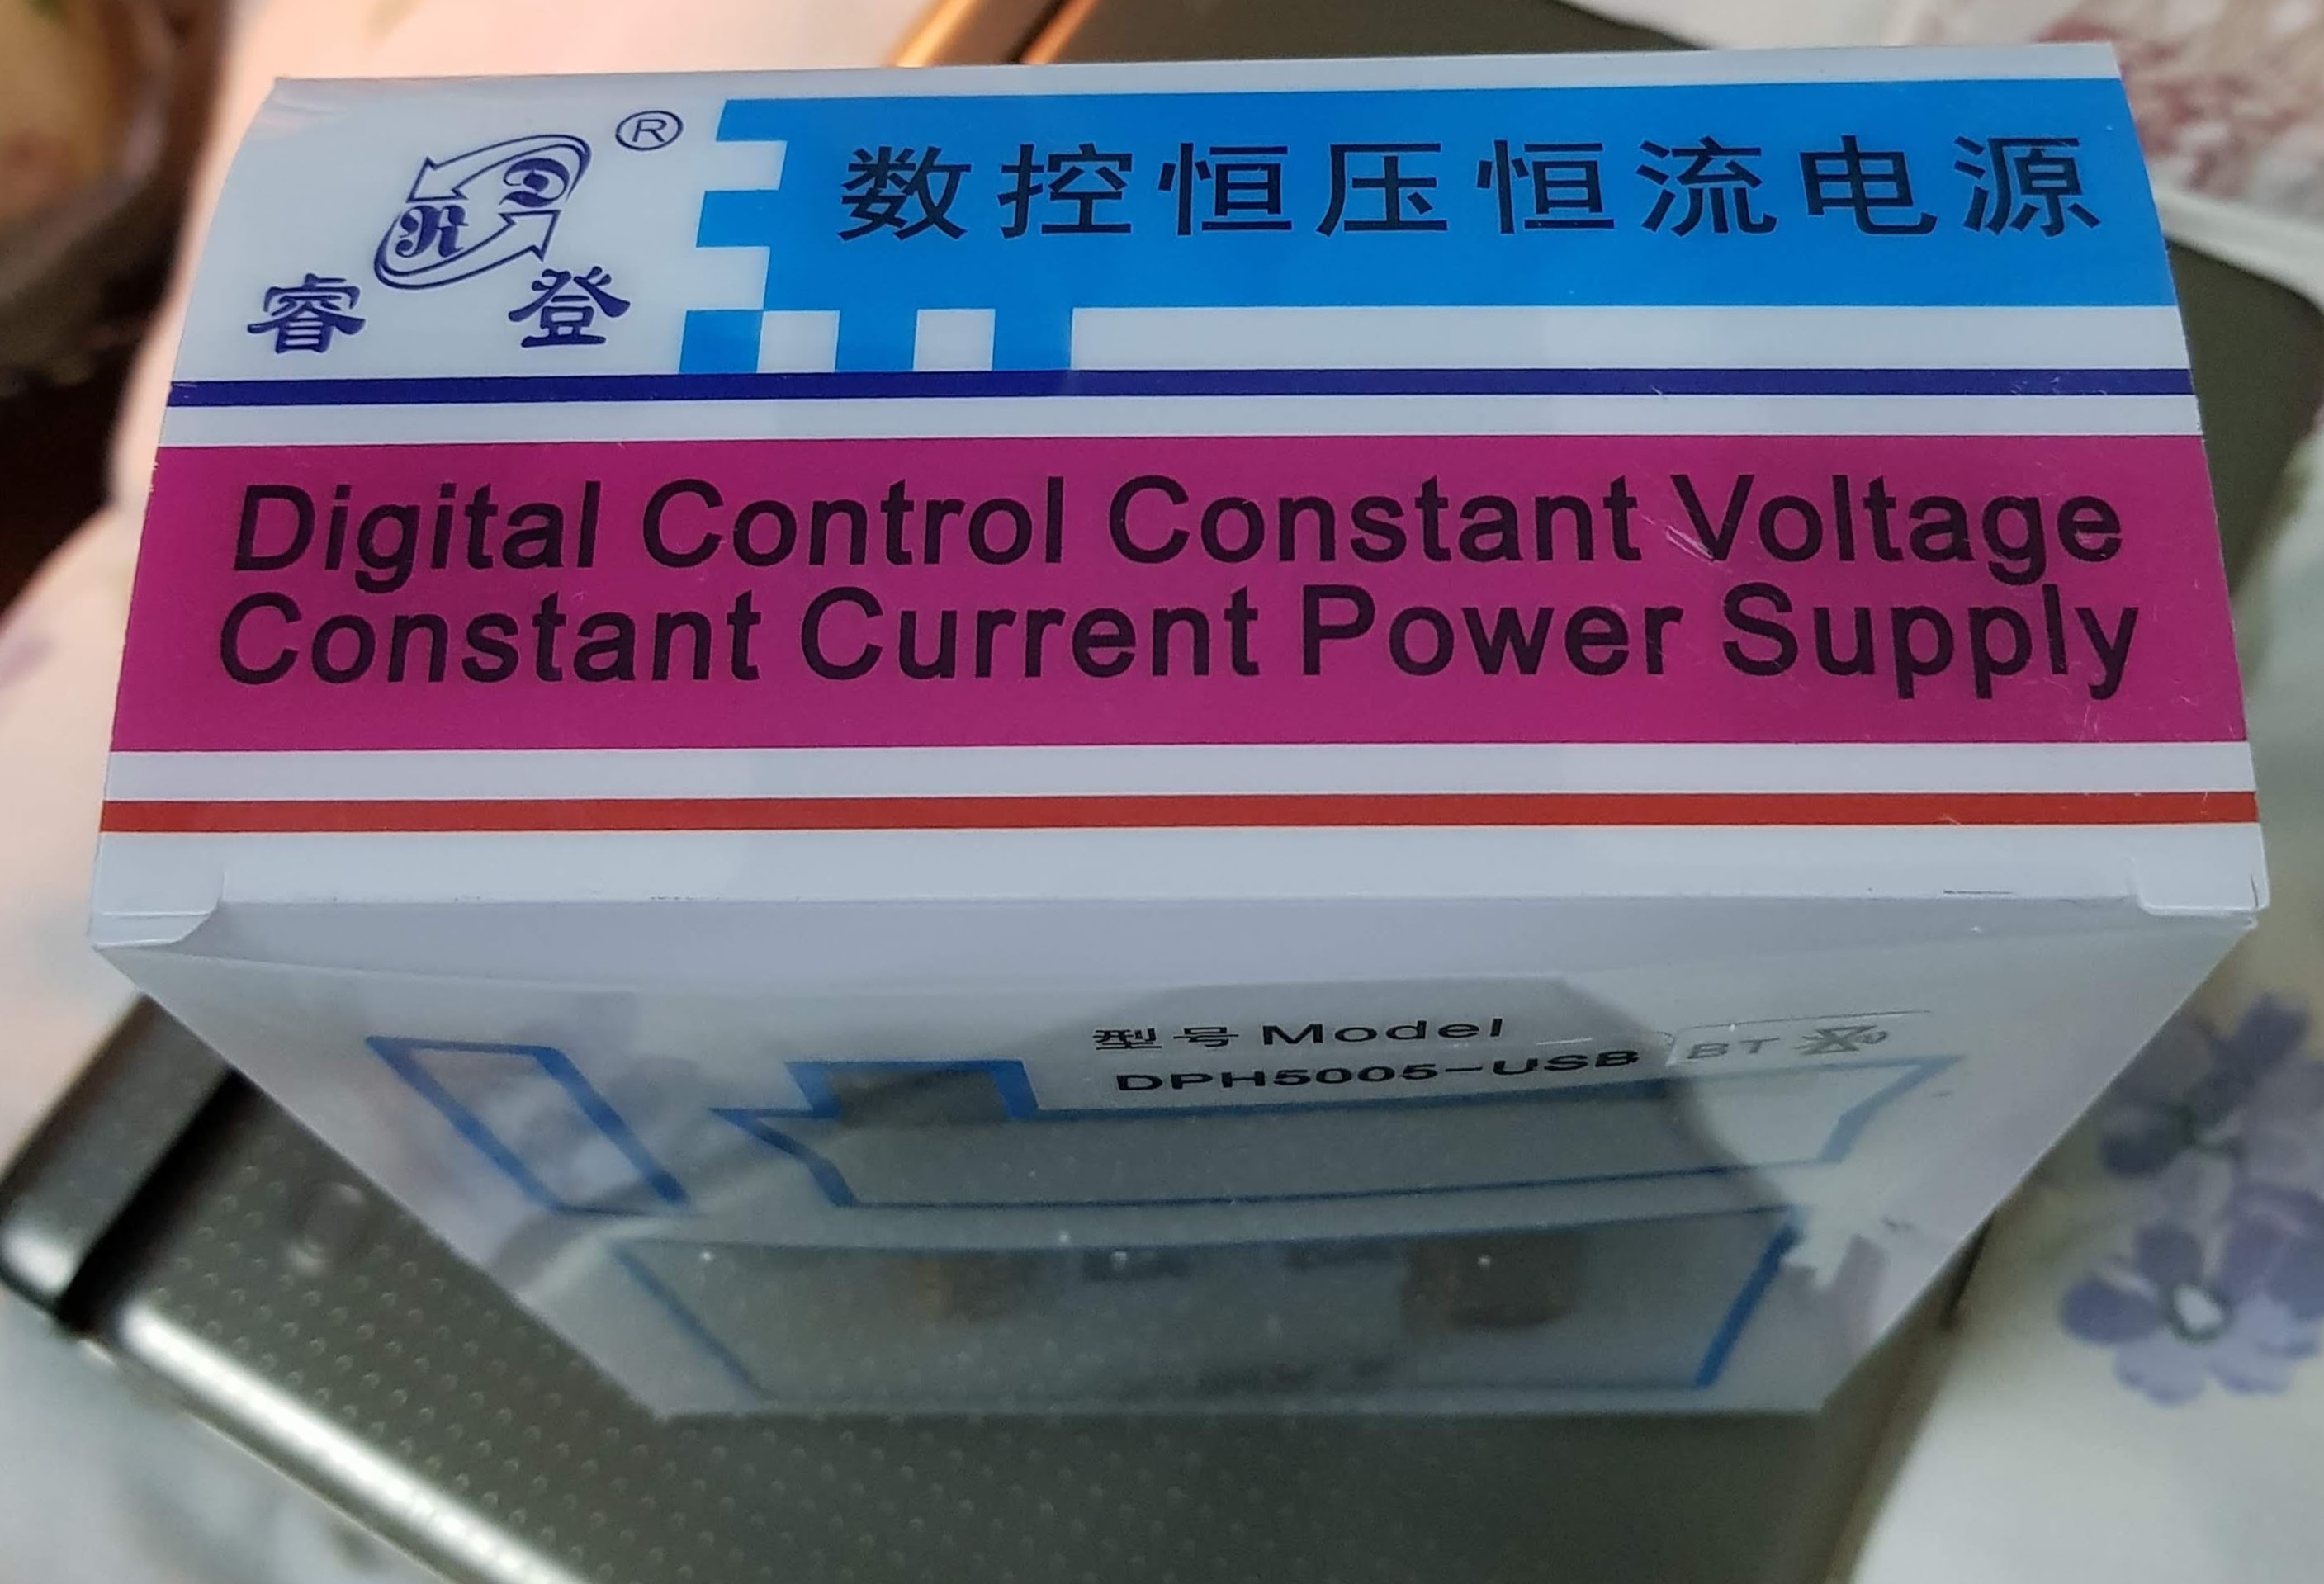
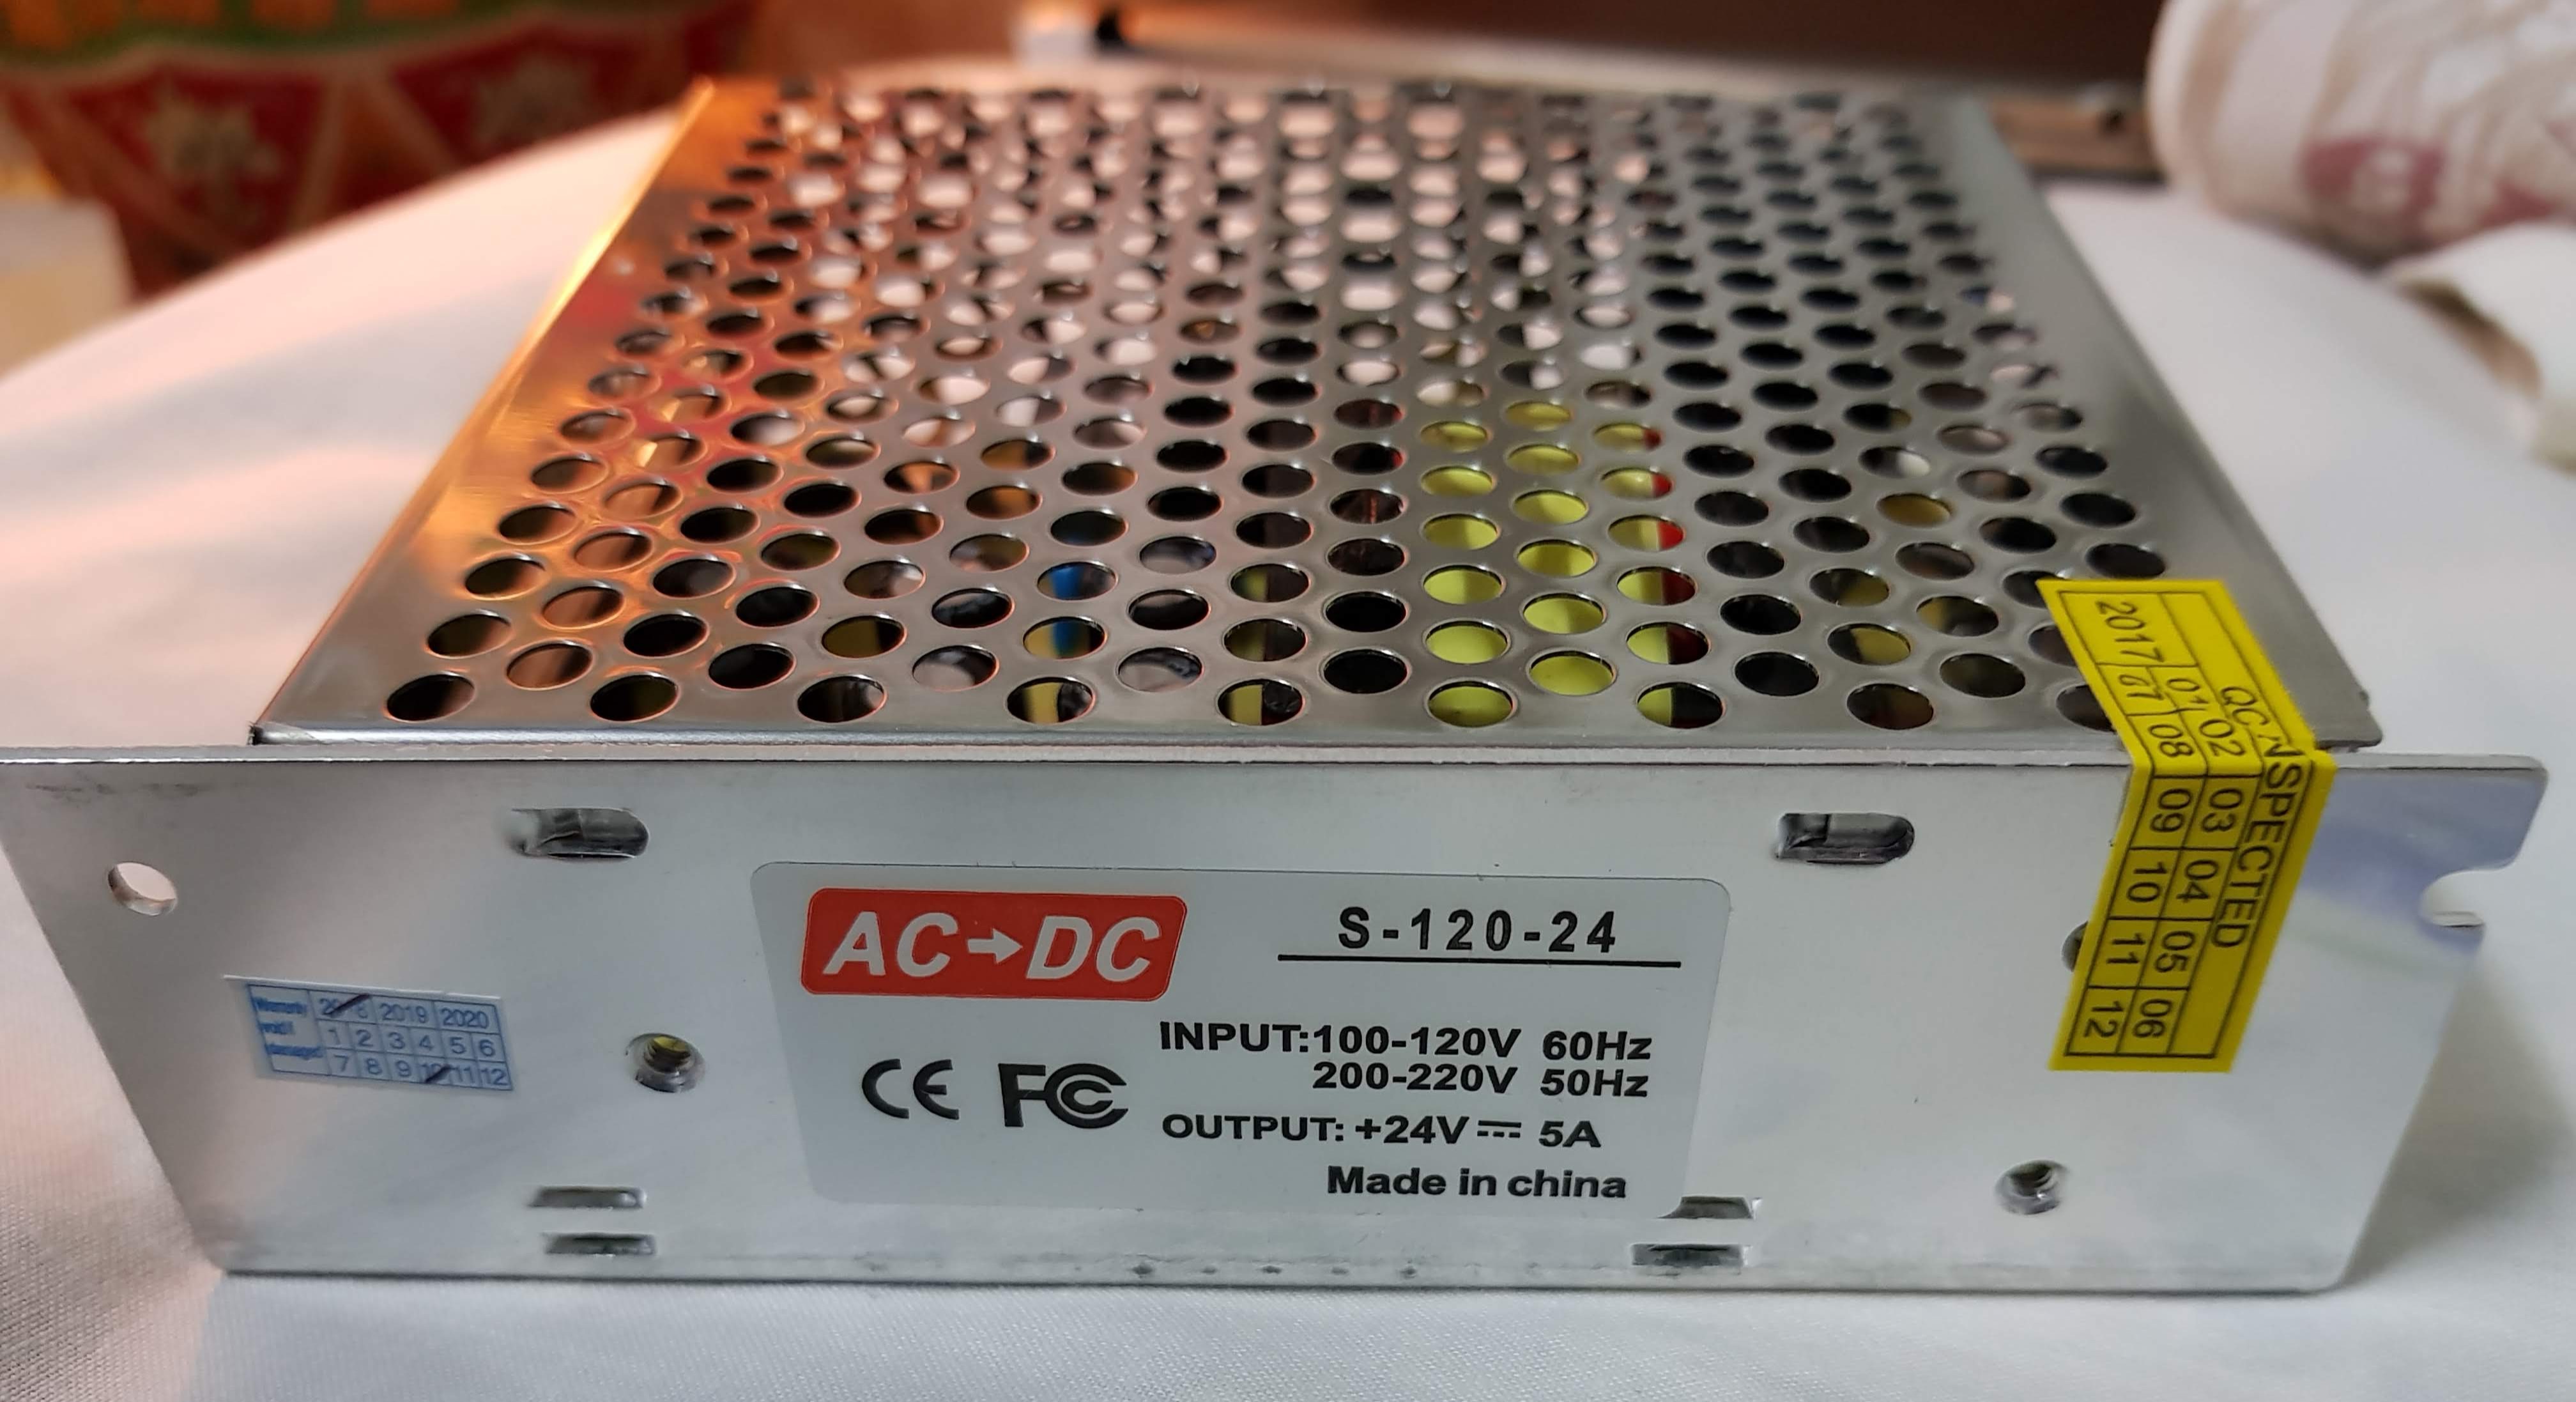
Now i don’t actually need a 50V 5A (50V 5A) as most of my experiments are with low power electronics. Although it is useful to have a bit of oomph when you occasionally need it, with great power comes greater responsibility. So for the power supply, I opted for a 24V 5A (120W) unit which I ordered from NewFroggyStore for MRY59.75, which was a reasonable compromise in terms of power and size. I purchased the RuiDeng DPH5005 from their AliExpress store. There is a “communication” version with option for USB or Bluetooth. This allows the unit to be controllable from an Android application. I thought this was a nice show-off feature to have, although I did have some paranoid concern about my neighbours hacking into it and turning up the power and switching the outputs on. The Bluetooth version cost me USD39.94. It arrived in a relatively attractive package, by AliExpress standards.
The Power supply unit looks like any other Meanwell-clone power supply unit:
The first thing I did was to modify my power earlier supply enclosure design to suit this power supply unit and to fit the DPH-5005. Here’s what I came up with:
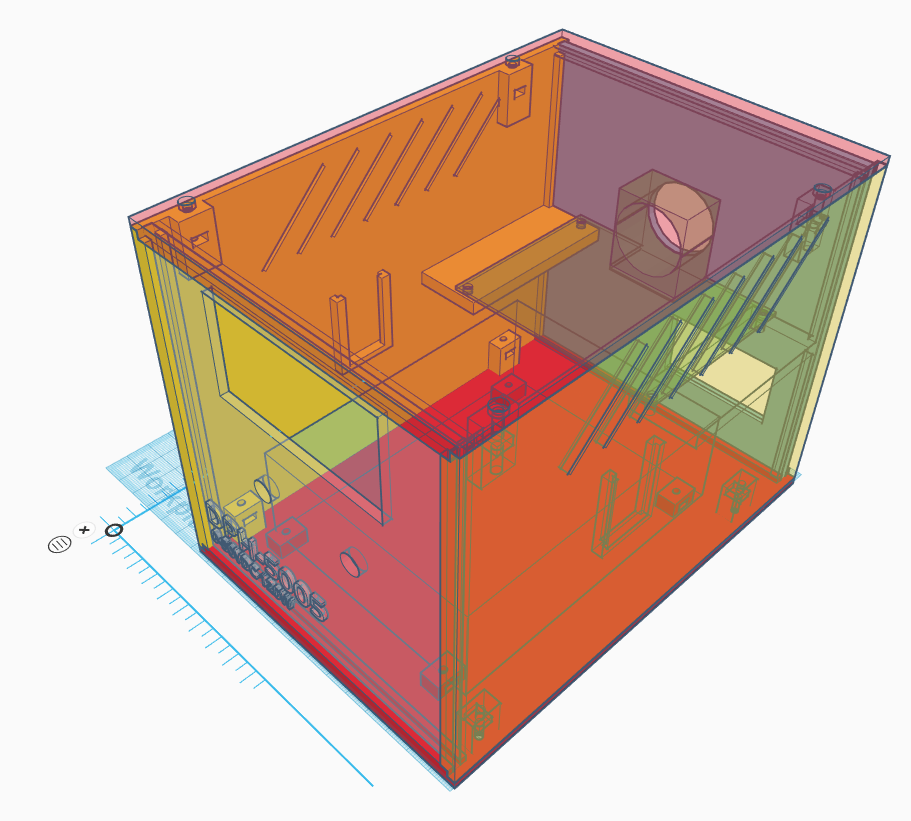
Power comes in via a C14 power socket with integrated fuse and switch. The 120W power supply sits at the bottom of the enclosure. Raised on a shelf at the rear sits the DPH-5005 main control board. There’s an exhaust vent aligned with the fan on the DPH-5005, although for everything I’ve thrown at it so far I’ve not noticed the fan coming on. On the front panel are the DPH5005’s LCD color LCD display and control knob, together with two banana-socket terminals for the output power. A pocket on the side wall holds the Bluetooth module. The design can be found here.
Here’s what it looks like in action:
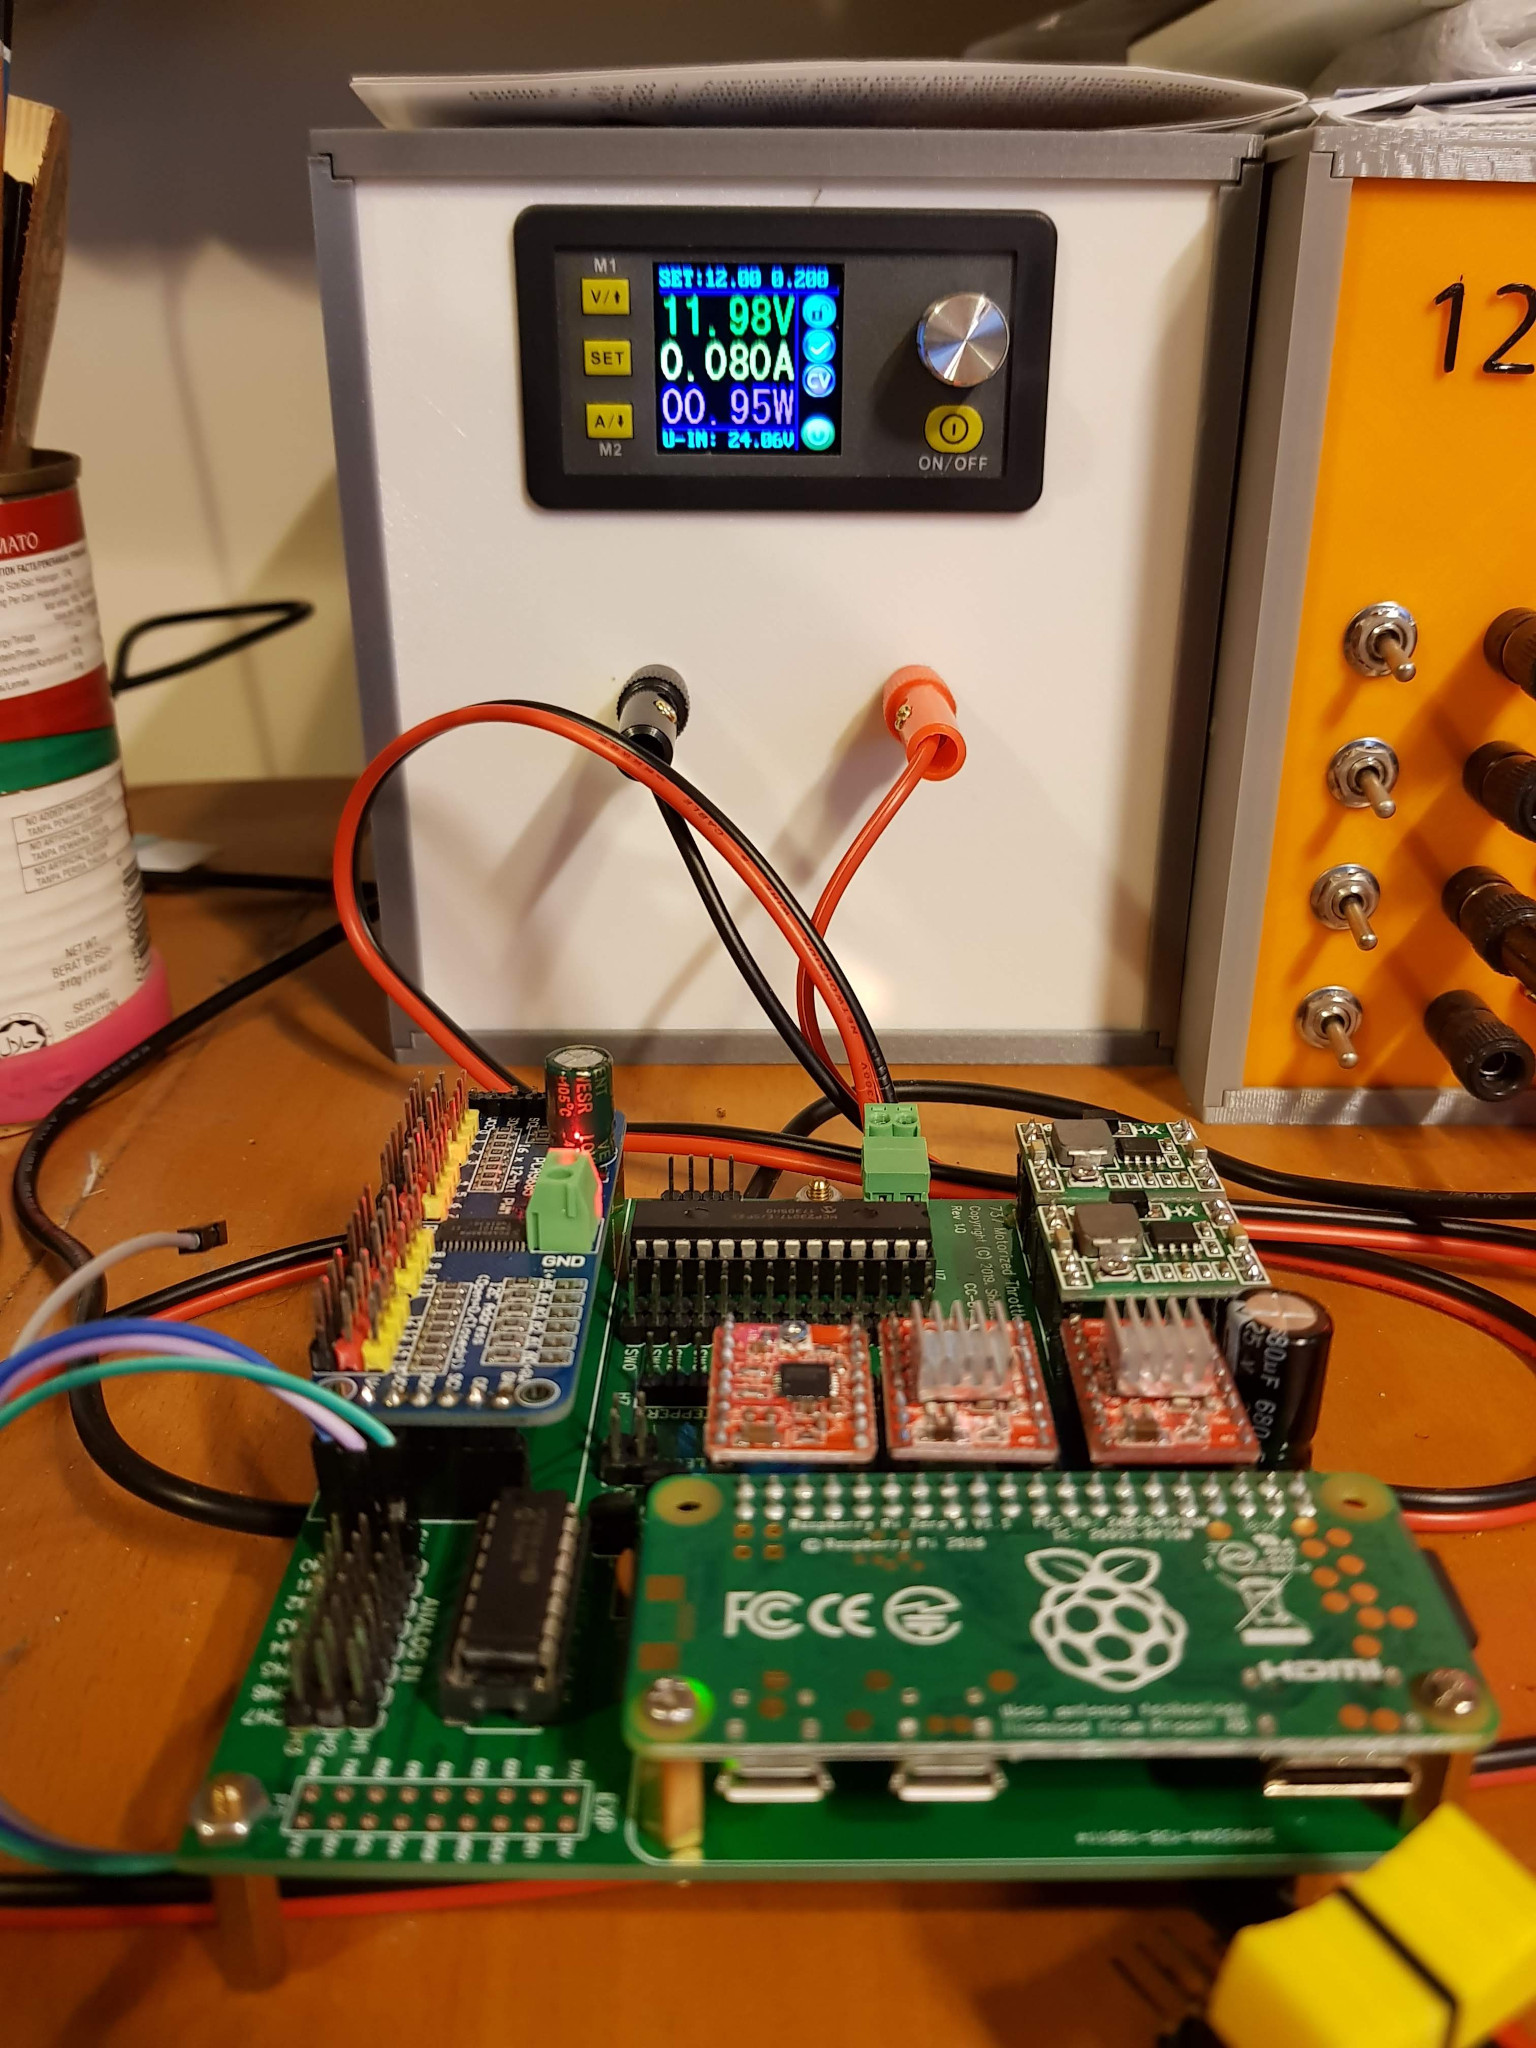
The first thing I did on powering it up was to go into the settings page, and set the output power protection (S-OPP) to 100W, so that it doesn’t draw more current from my power supply than it is supposed to.
For basic operation, you can set the voltage and current limits by pressing the “V” or “C” button on the front panel, and then using the rotary encoder to set the values. I found this good enough for me, although the unit is actually able to store up to 10 preset voltage and current combinations which can then be recalled.
If the load connected to the power supply draws less current then the set limit, the unit operates in constant voltage mode, where the voltage is maintained at the value set. The actual current draw is displayed. This is useful to know how much current your gadgets actually use for a given voltage setting.
If the load tries to draw more current than the limit you’ve set however, the DPH-5005 will not allow itself to supply more current than the set limit (It does this by lowering the voltage, so as to “regulate” the current to the set limit).
This is very useful when experimenting with electronics or new circuit boards. If for some reason there was a short circuit on the board (i.e. very little resistance between it’s positive and negative power inputs), it would allow a massive amount of current to flow through the circuit. If I were to use my regular power supplies, which can supply up to 10 Amps of power, it would either cause “magic smoke” to appear and burn out something in the circuit, or cause the fuse to blow on the power supply. Either way, this is not a good thing. With the DPH-5005 however, no more current will flow through the device than the maximum set. So when testing out new circuits, I can set a “reasonably” safe limit and never risk something burning out.
The current limiter is also useful for simple things like testing a LED. I don’t need to find a resistor to limit the current to the LED, I can just set the DPH-5005’s limit to 10-20mA, and connect the LED directly.
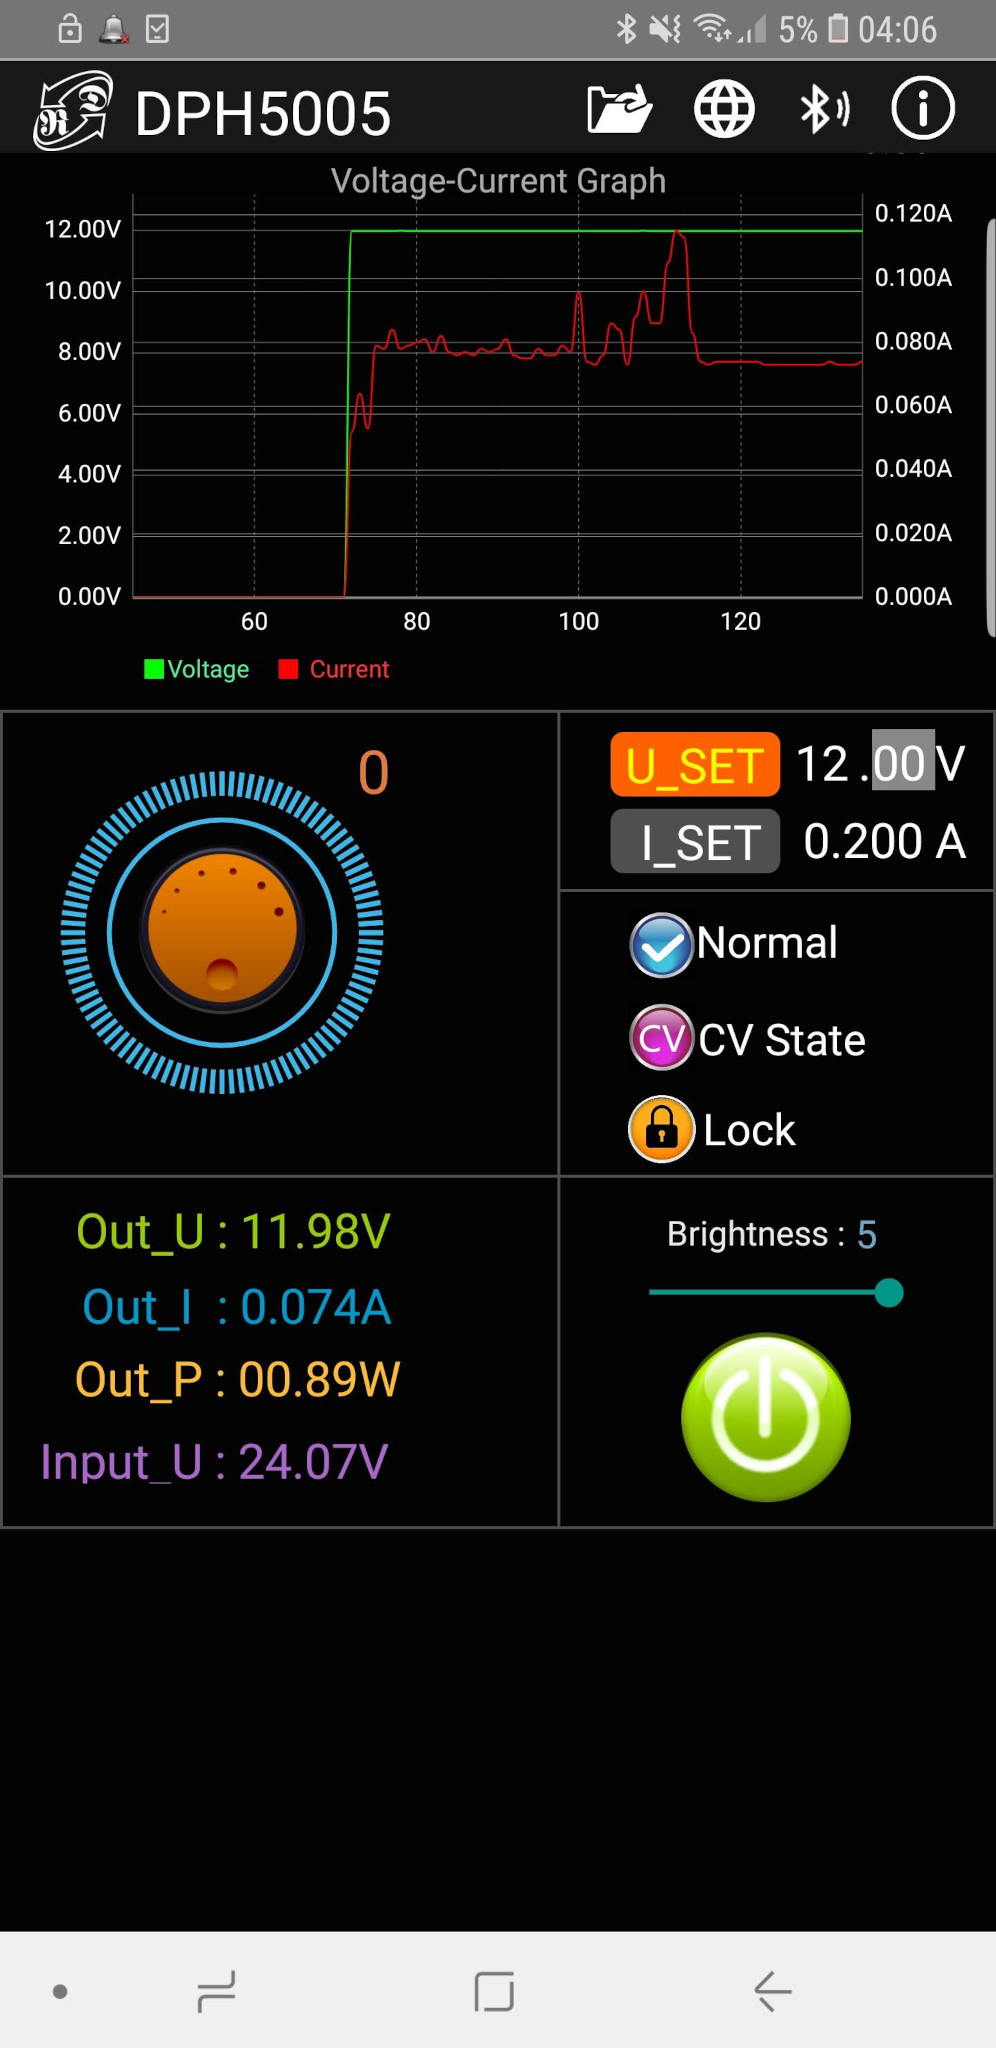
Finally there’s also the android app available, which not only lets you remotely control the user interface of the DPH-5005, it also has a running graph of the actual voltage and current readings. The graph in the screenshot below is that of a Pi Zero WH (powered with 12V through a Mt1804 step down power regulator module) booting up.
If you’re dabbling in electronics and don’t already have a current limiting power supply, I strongly recommend getting one of these.
#raspberryPi #FunWithElectronics #3DPrinting
Originally created with EverNote at 20190210T202149Z