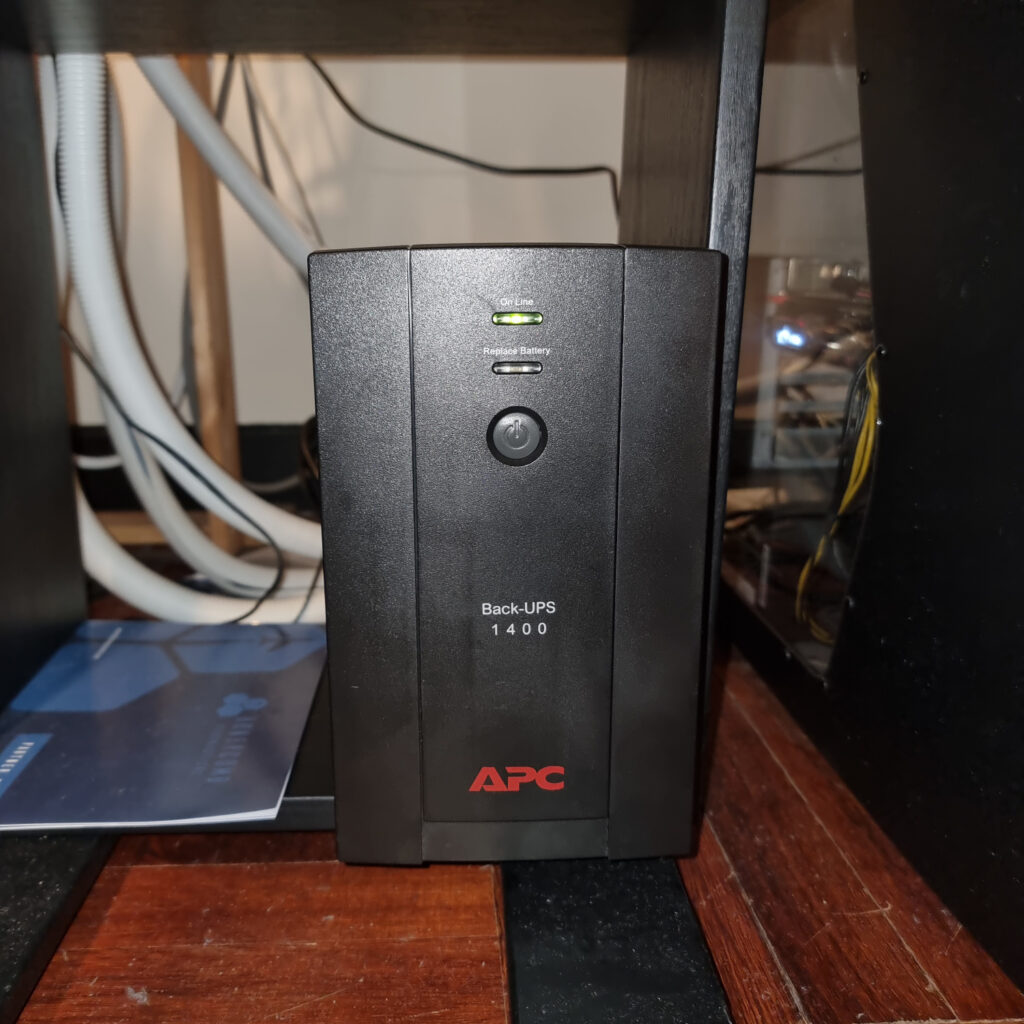
APC Back-UPS 1400 : Battery Replacement
I woke up irritated by this sound …
It seems my UPS battery has picked the last day of the year to die on me.
I confirmed it by shutting down the PC and then the UPS, and switching both on again … within 30 minutes the “Replace Battery” alert started once more. I temporarily bypassed the UPS by connecting my PCs directly to an extension cord off the wall supply.
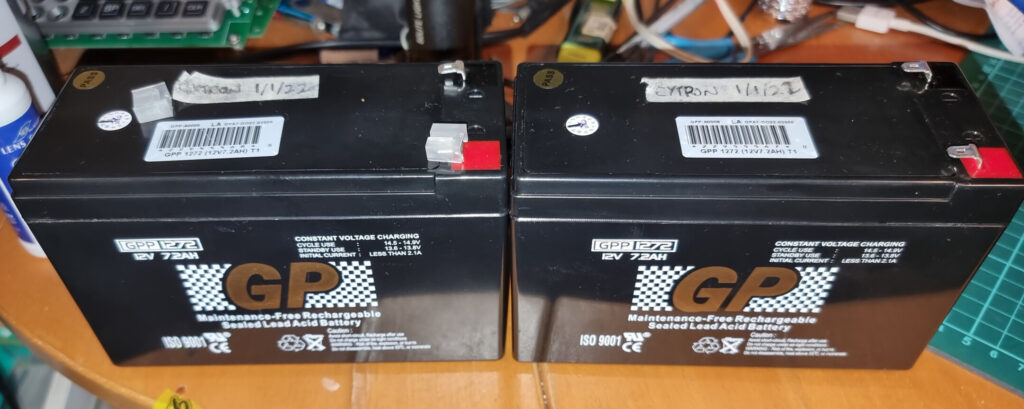
From my records the last battery change was in early 2020, so it seems to have lasted just under 2 years.
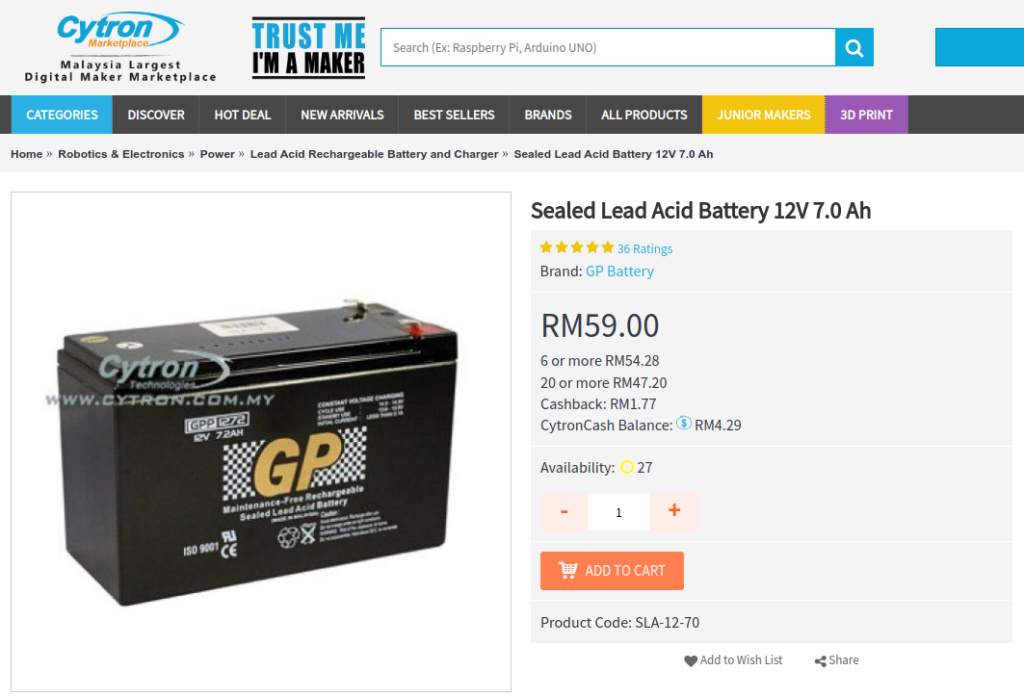
I ordered two replacement batteries from cytron.io. These are exactly the same capacity and dimensions as the original APC ones, but are a quarter of the price!
By the evening it was on a truck on its way from Penang, and was at my local depot the next morning (Go J&T!). Unfortunately I wasn’t home so it only got delivered the next day.
How To Replace The Batteries on an APC Back-UPS 1400
I started by removing all the cables from the UPS. Given that the UPS can output 240V AC, it’s important to be cautious when opening the UPS — avoid touching any components and ideally wear rubber gloves.
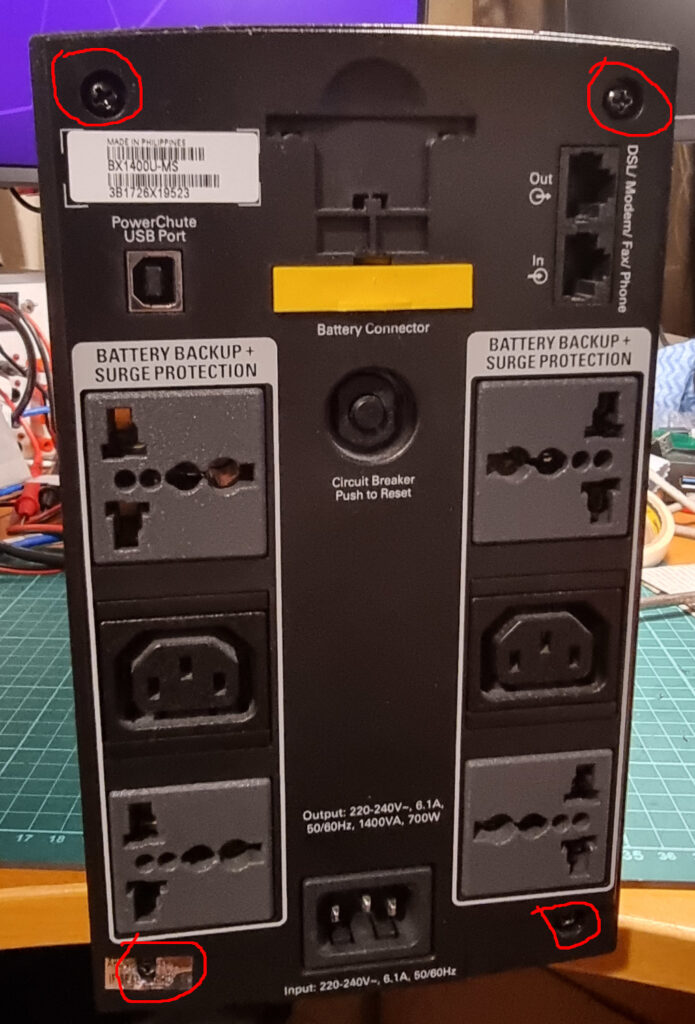
Start by removing these 4 screws on the back of the UPS:
Next remove pop-off the front panel. It is held on by clips at the sides, but you can get some leverage from a hole at the bottom and slide a large flat-screwdriver into the gap and twist.
These are the clips that hold the front panel in place:
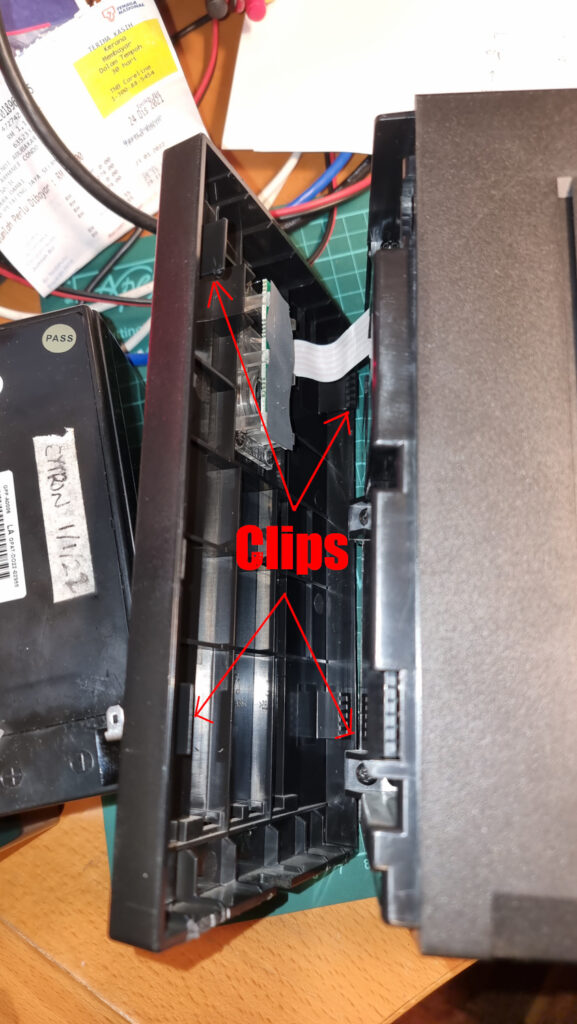
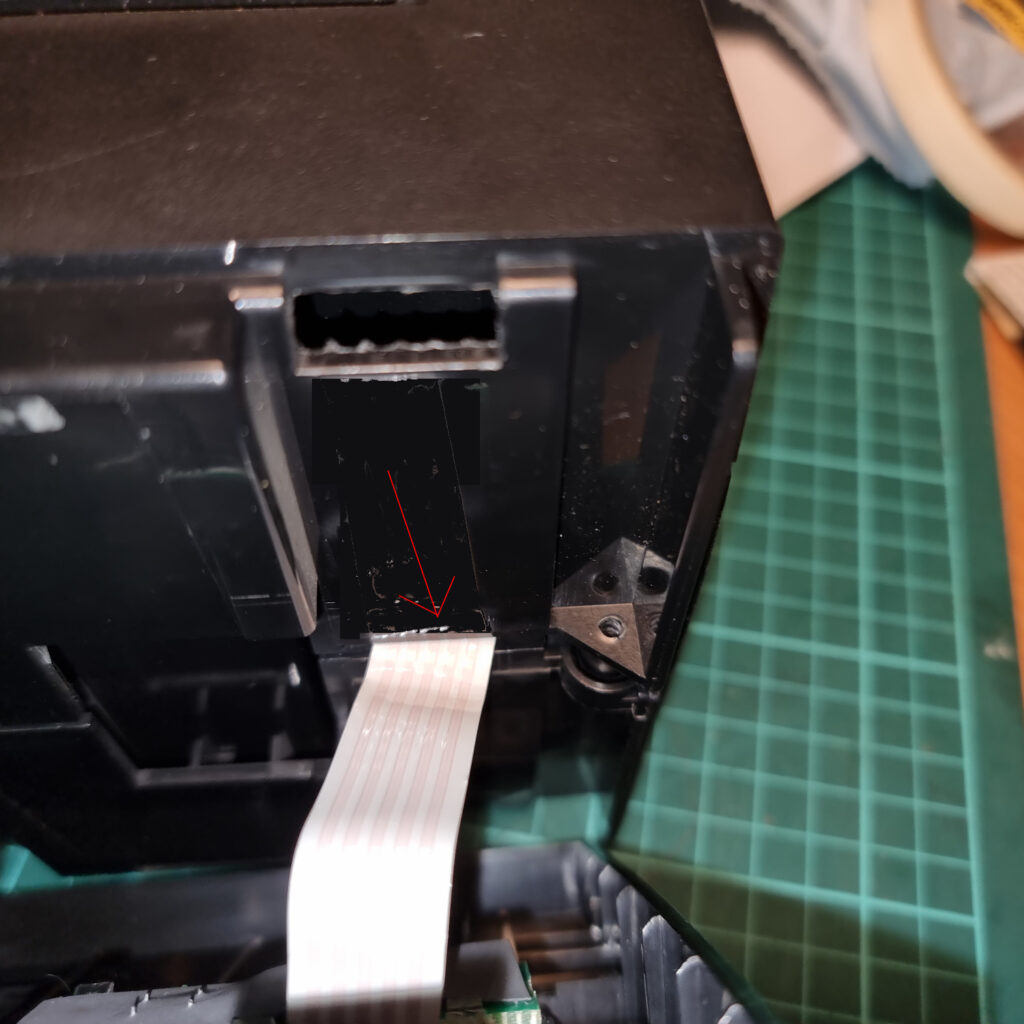
Be careful not to strain the ribbon cable that connects to the switch and indicators at the front.
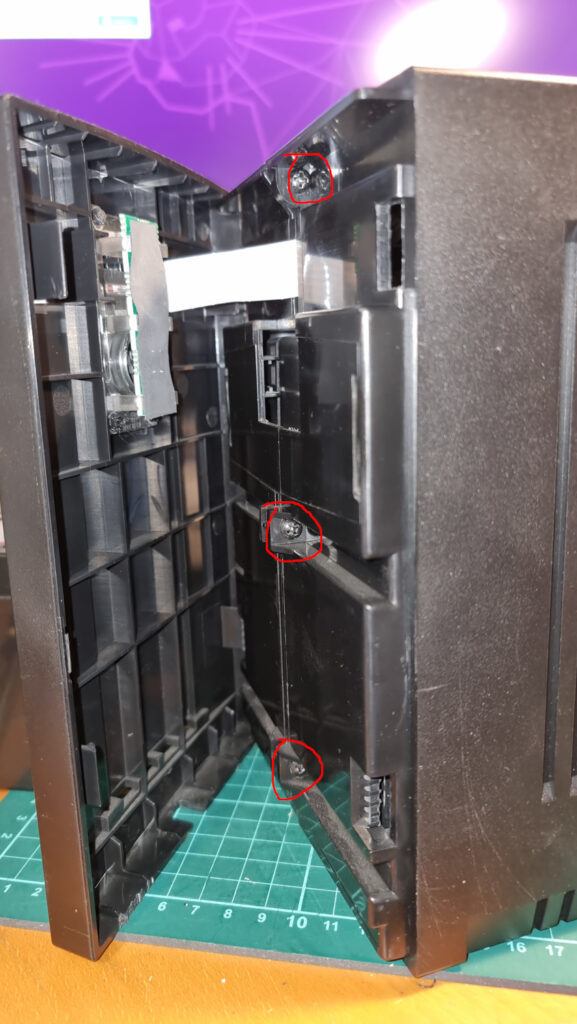
Next these three screws need to be removed:
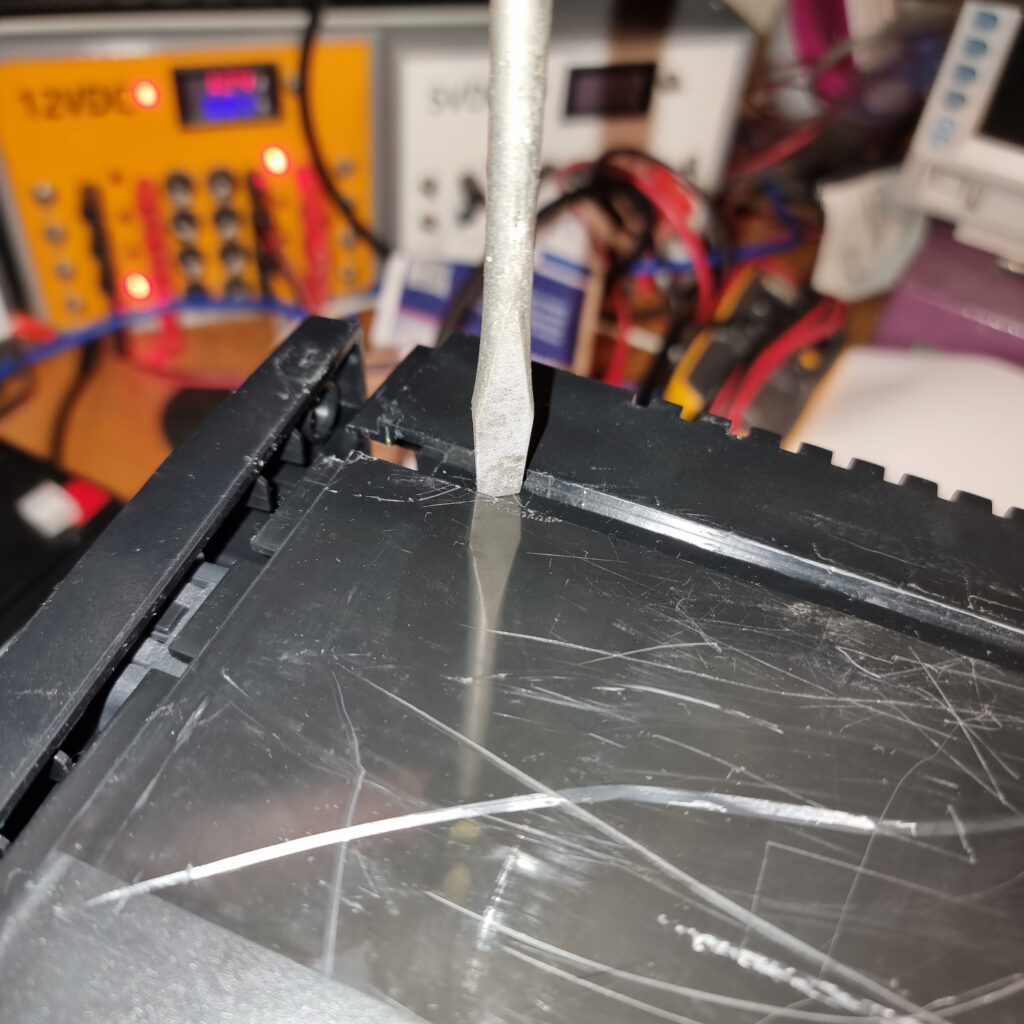
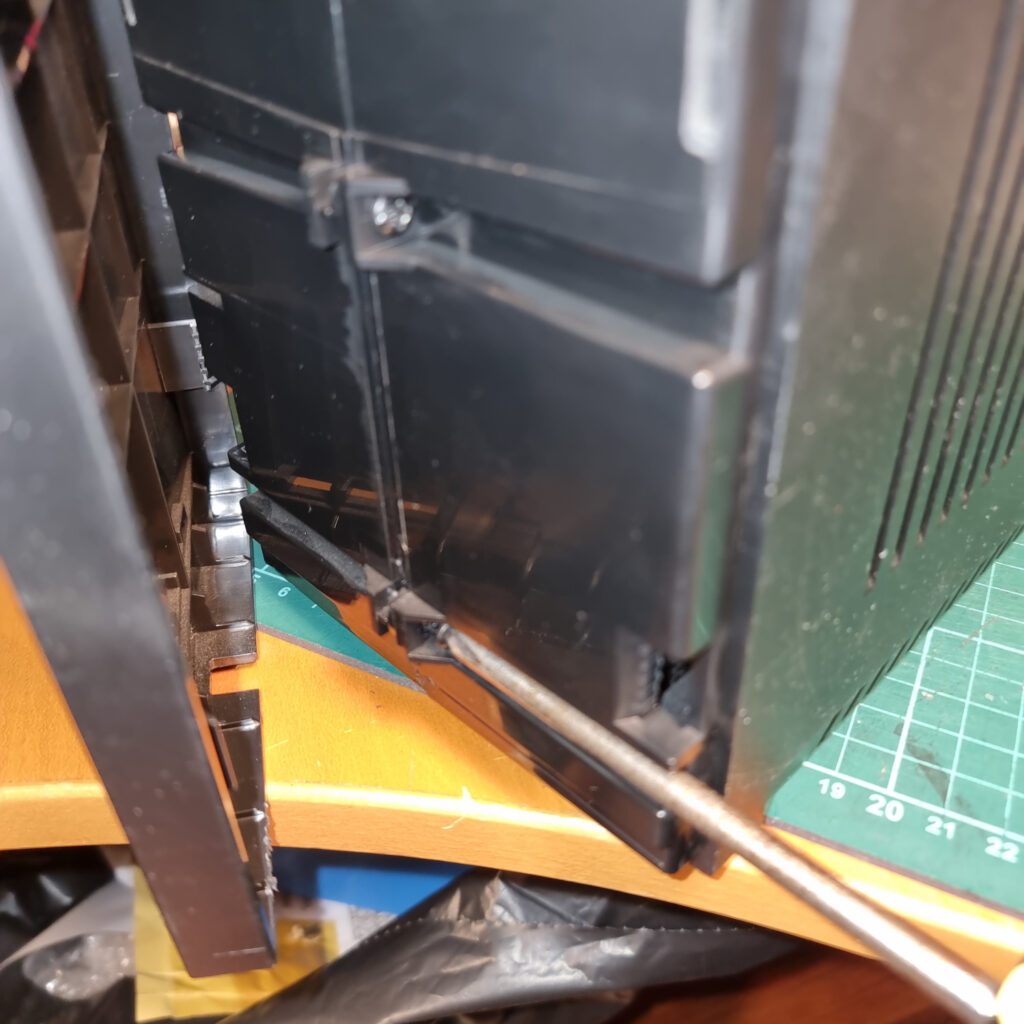
Without removing the back and front panels, flip the UPS over. Using the same technique as the front panel, use a large-flat screw driver and insert it into the gap between the two side panels, and pry them apart.
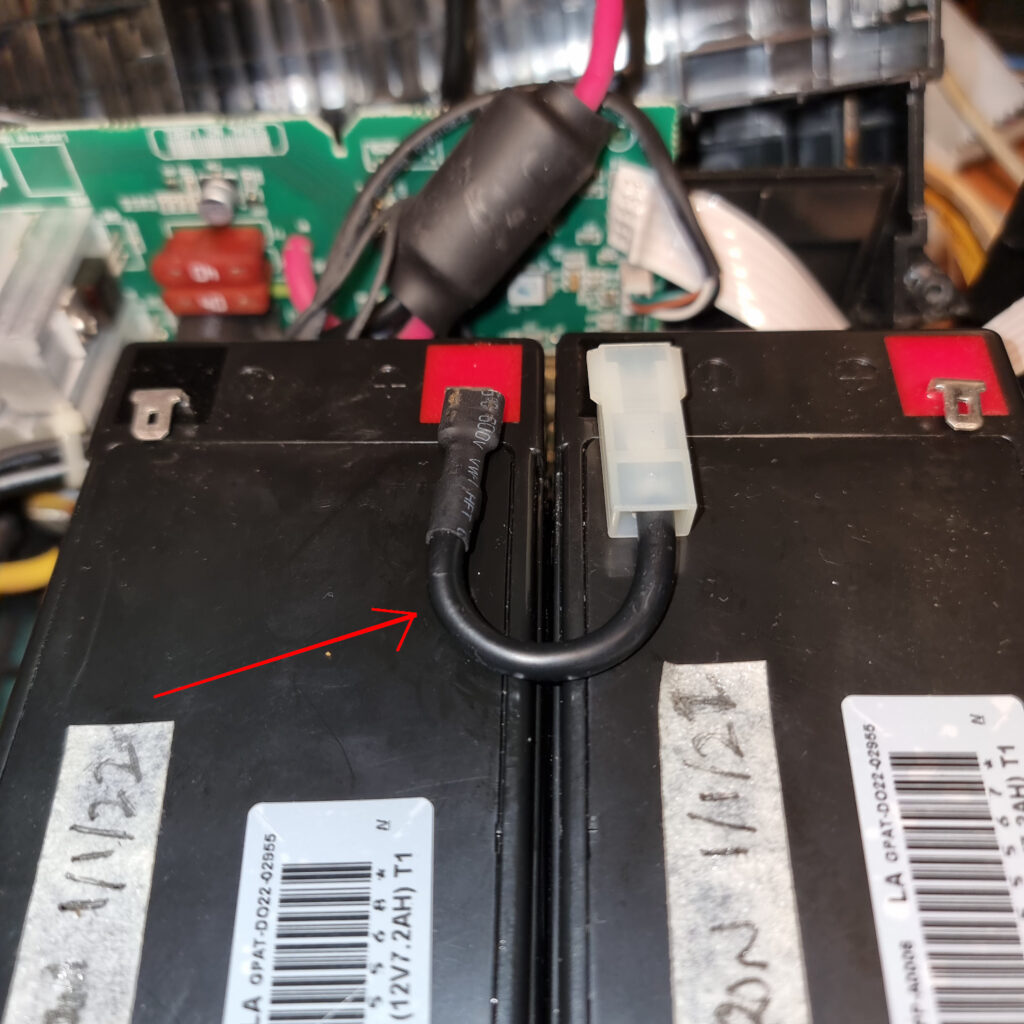
The side cover can now be lifted up. If they have not come off when removing the cover, disconnect the black and red cables from the battery terminals. Also, remove the short “U” cable that links the two batteries together. The existing batteries can now be removed.
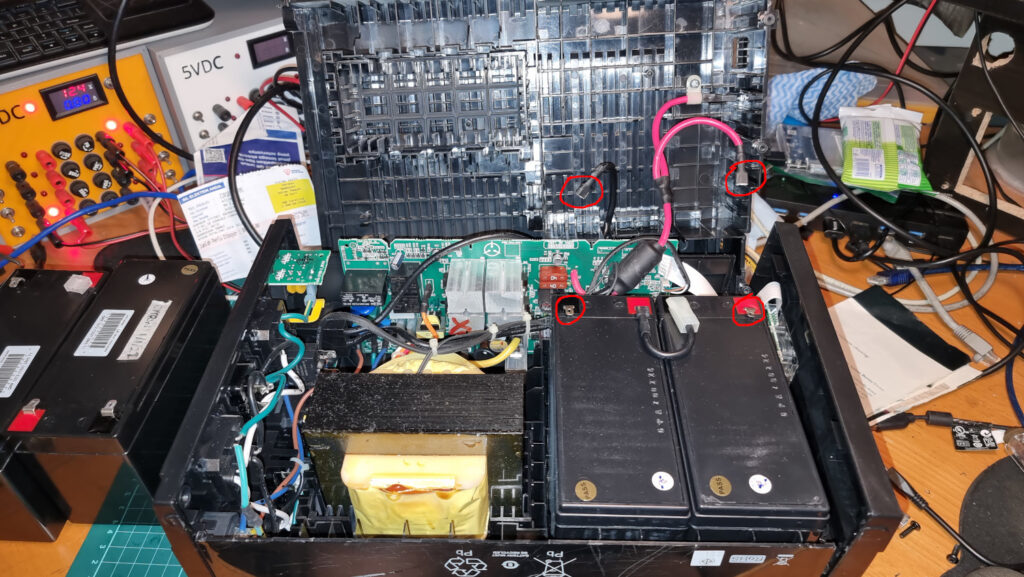
The two batteries can now be replaced with the new ones. Make sure the terminals are on the same side as the originals and the polarities are in the same position as the original.
Connect the U-cable between the two batteries. You may need to lift the terminals a little so the connector can attach to them.
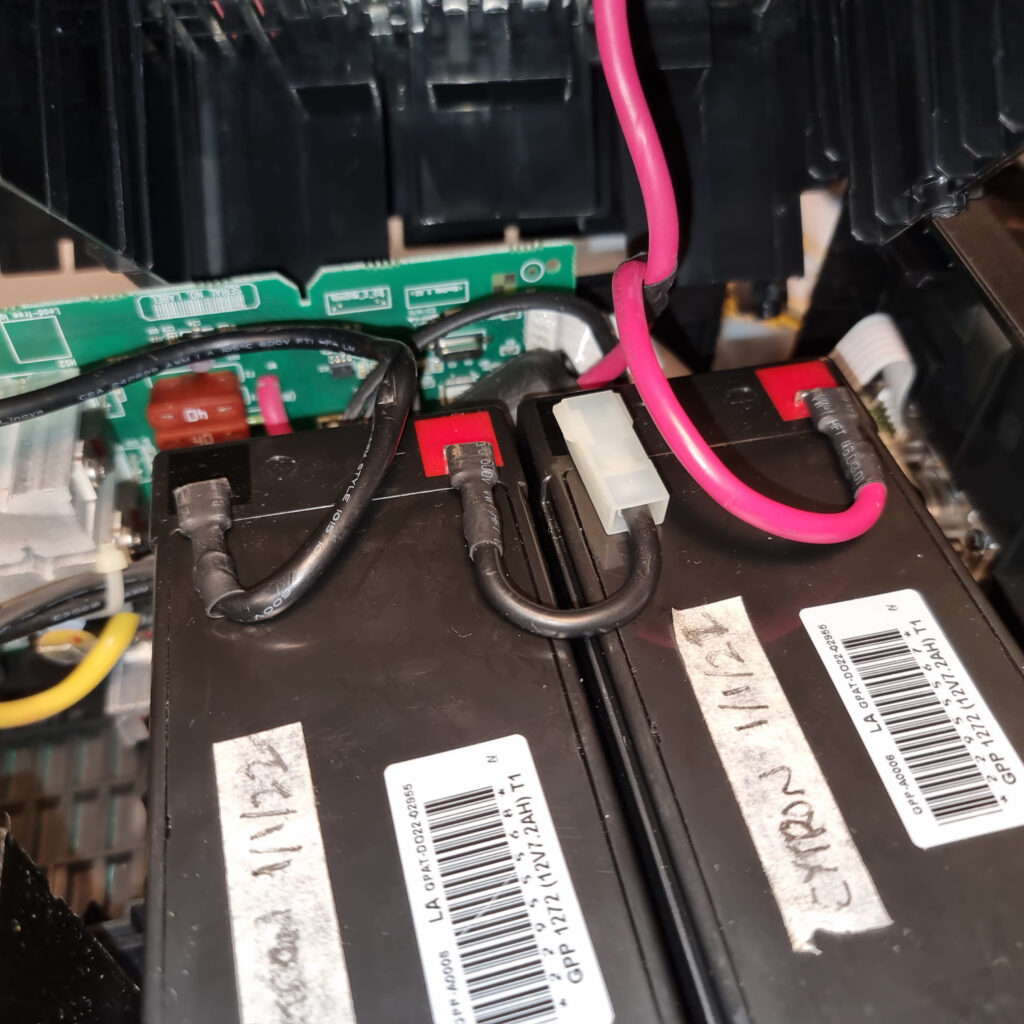
Connect back the two long cables:
Now replace the side cover. should slide it straight form the top. Be careful with the ribbon cable is not pinched at the sides, it should exit through the small gap shown below:
Attach back the three screws in front, and pop the front cover back on:
Press the back cover back into place, and re-attach it with the four rear screw.
Connect all the cables again, and switch on:
And we’re done … no more Replace Battery alert!